Caterpillar Stage
How long will they stay as caterpillars?
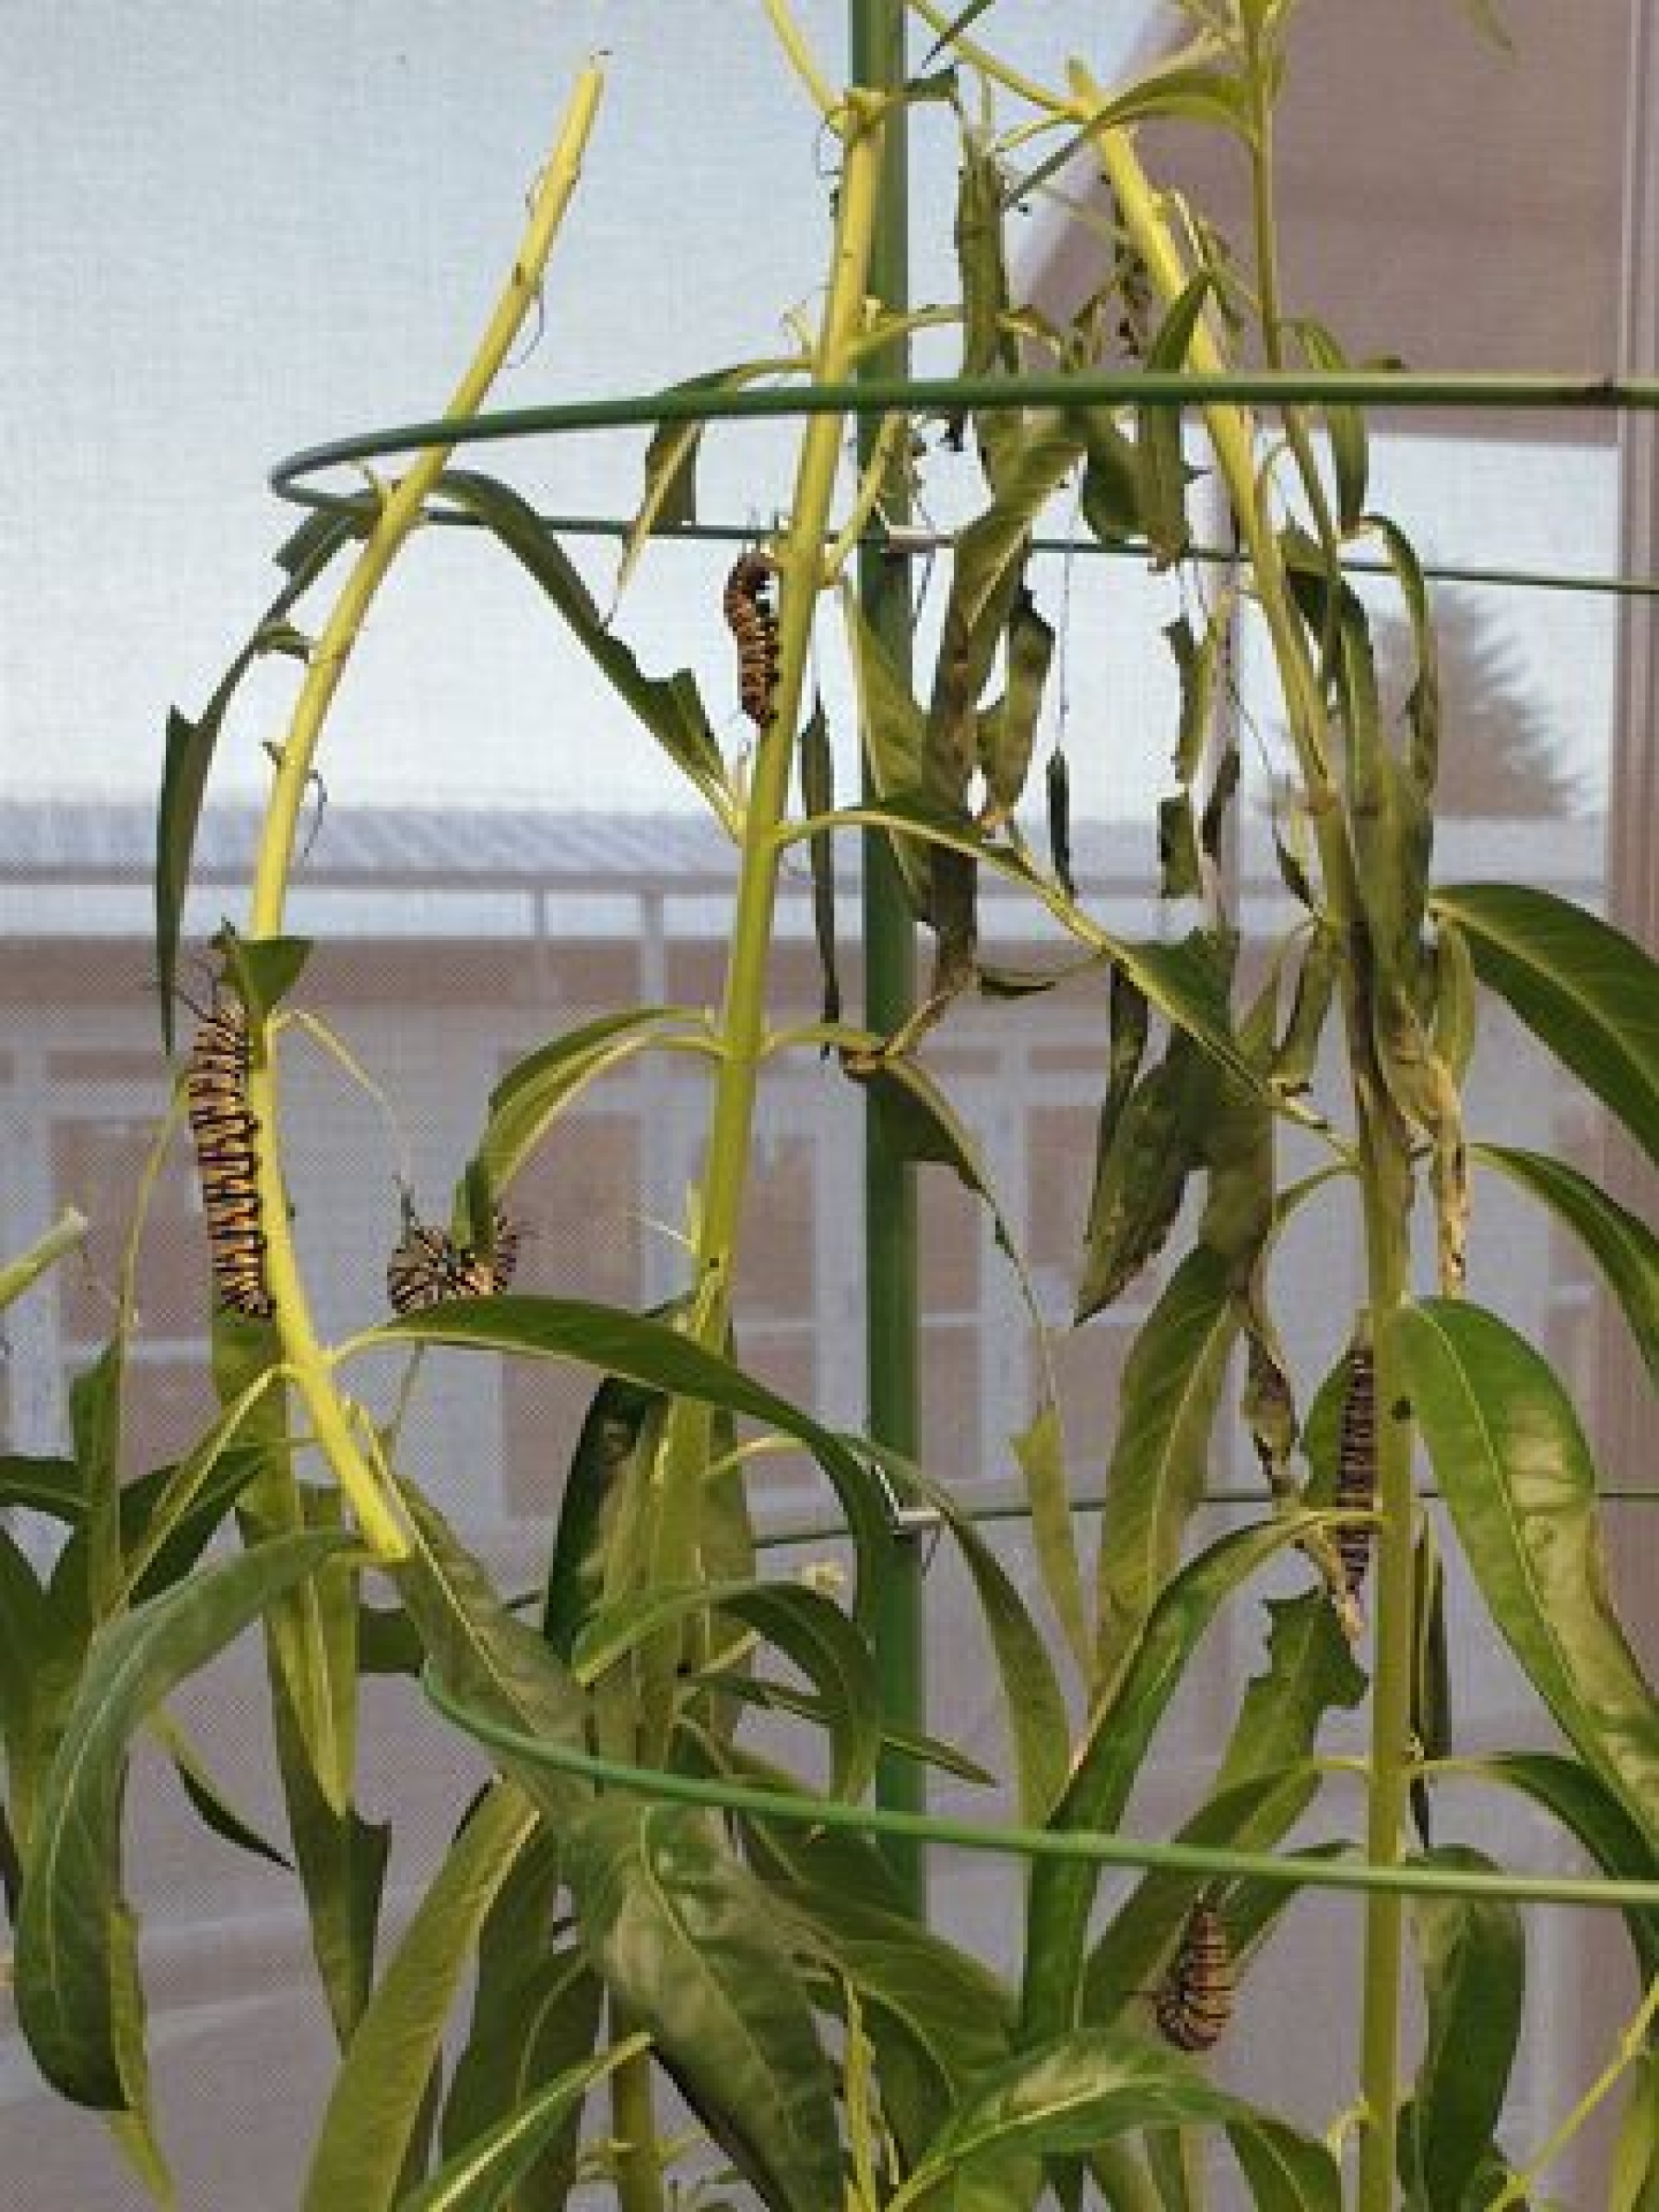
The tiny yellow and black caterpillars kept nibbling on the swan plant leaves. The students were amazed at how quickly one caterpillar could eat a whole leaf. They watched the caterpillars grow bigger, longer, and fatter.
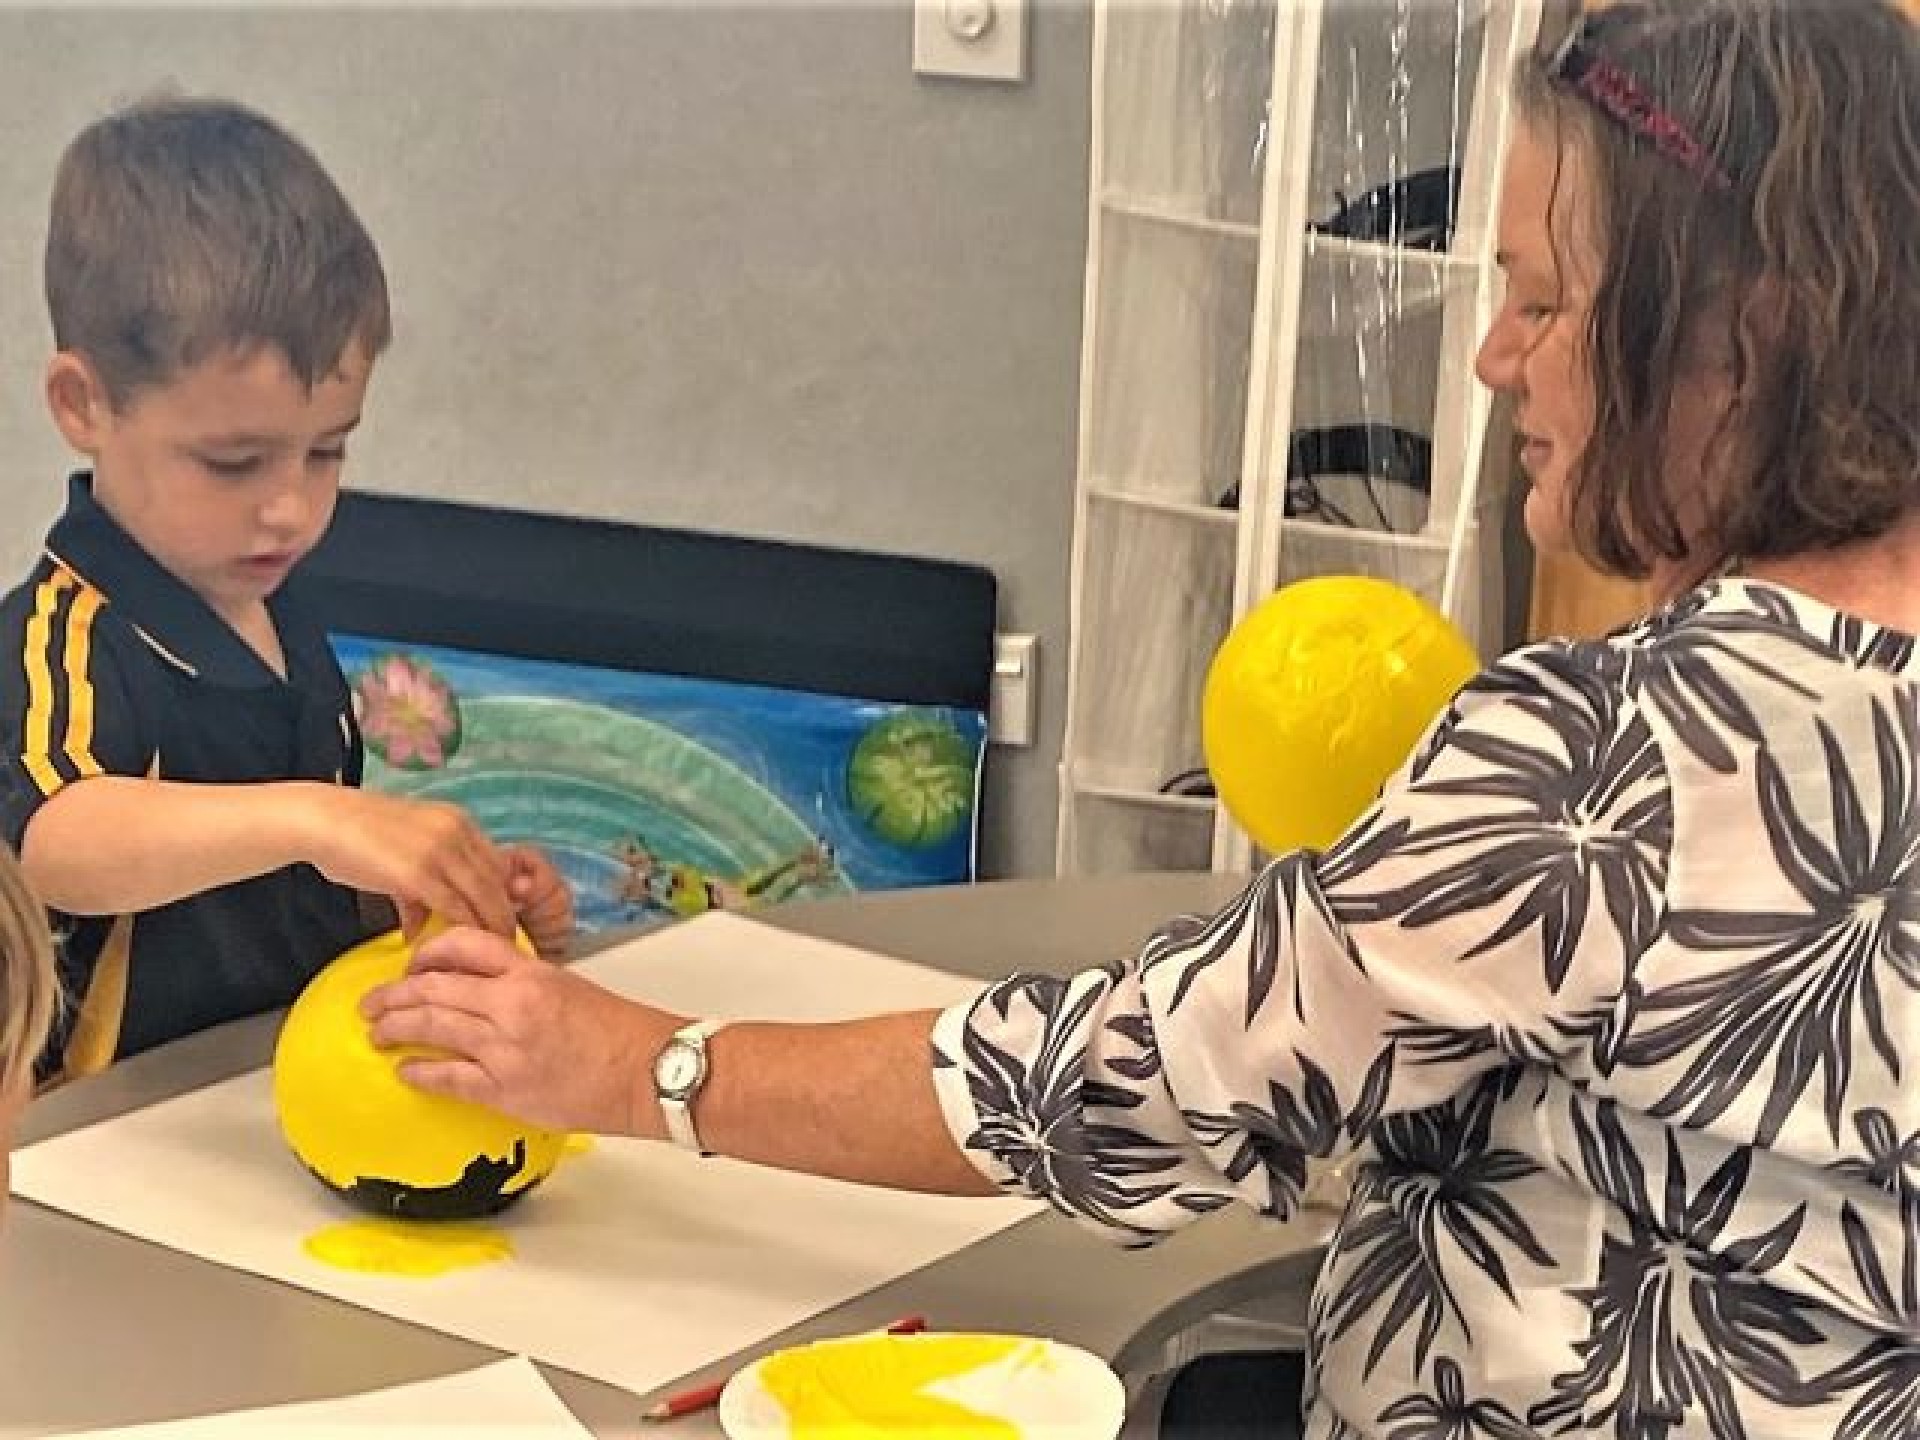
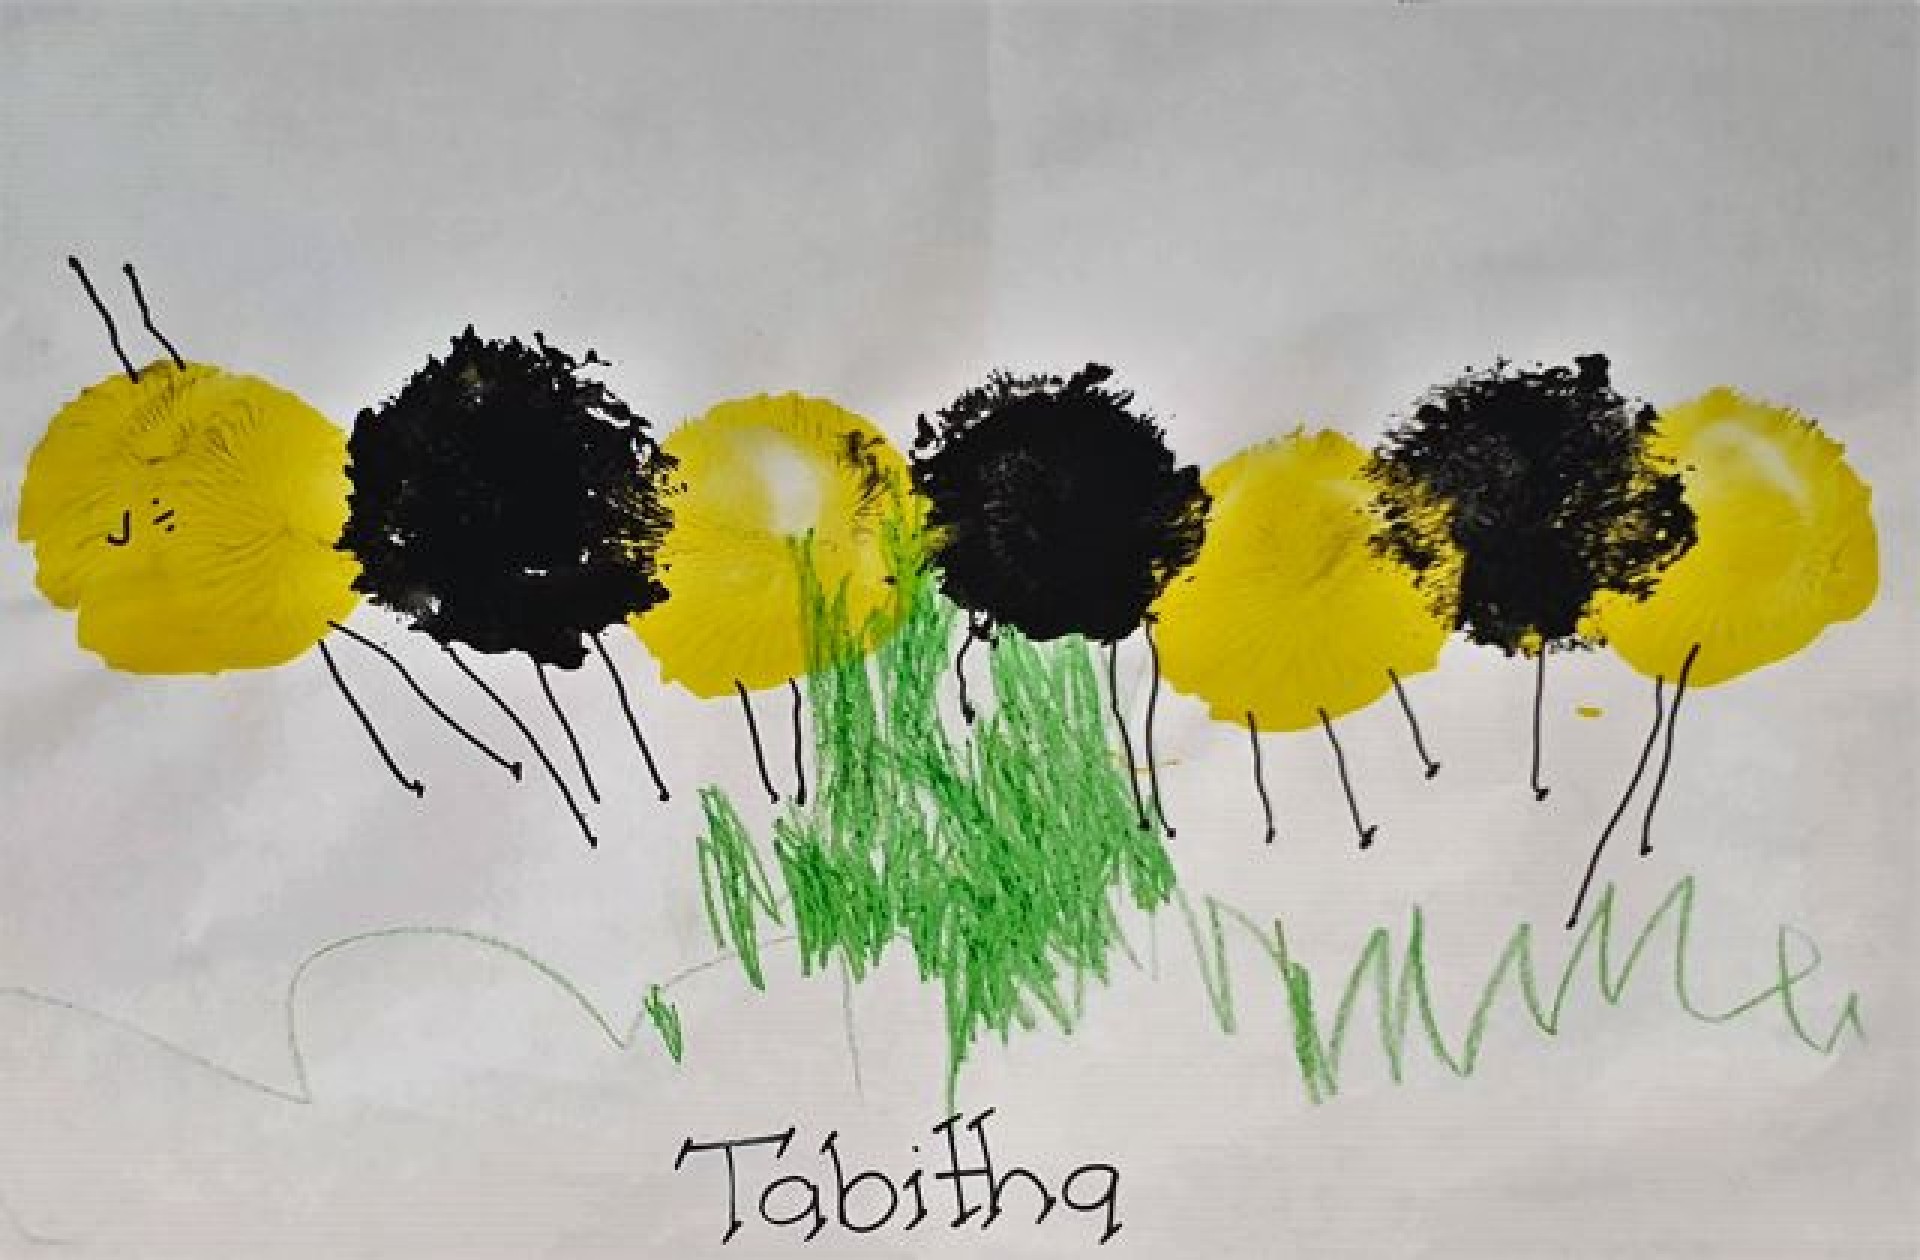
When creating a caterpillar artwork, students noticed a repeating pattern in the colours on the caterpillar’s body. Using paint and a balloon, students replicated this repeating pattern with yellow and black paint.
Starting from the first day the caterpillars arrived, the students counted the number of days it took for the first chrysalis to appear. Students counted 7 days.
How do they turn into chrysalis?
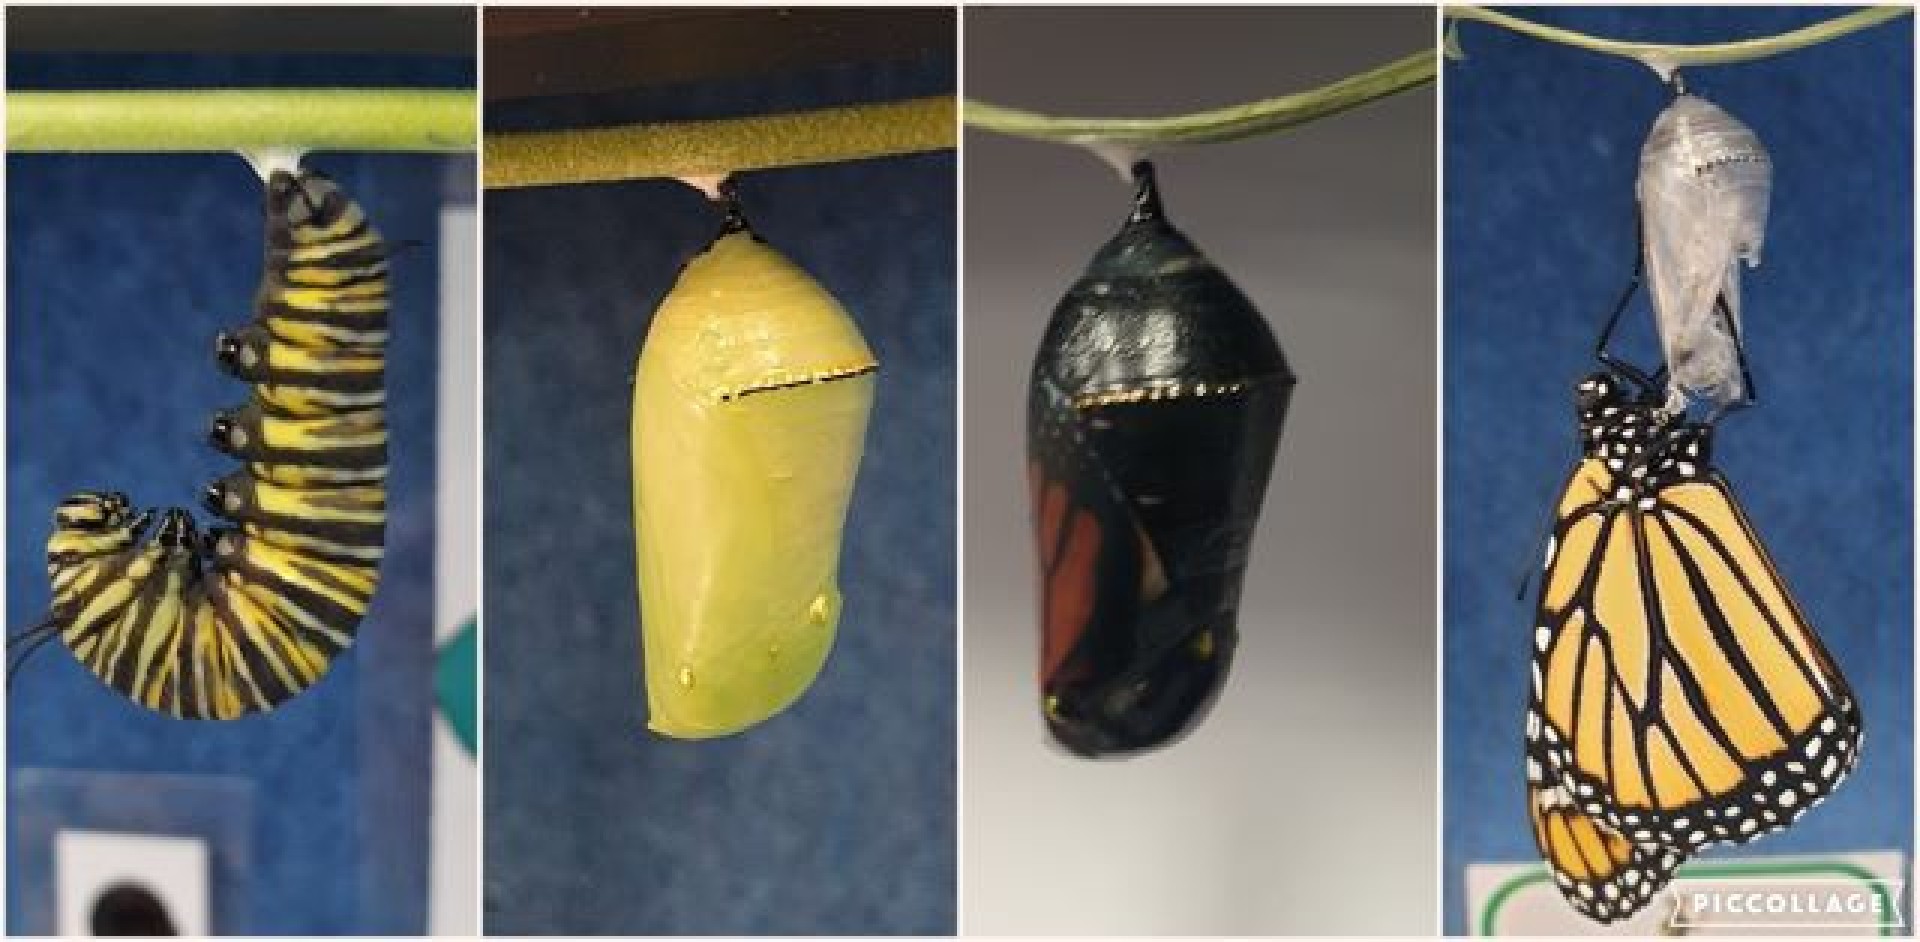
This was tricky to answer. Students tried hard to notice the exact moment a caterpillar would lose its skin and reveal its green chrysalis shell. They managed to see one caterpillar twist and curl, changing from its yellow and black caterpillar state into a hanging green, shiny pod.
Creating a Butterfly Picture
What do you think the butterflies will look like?
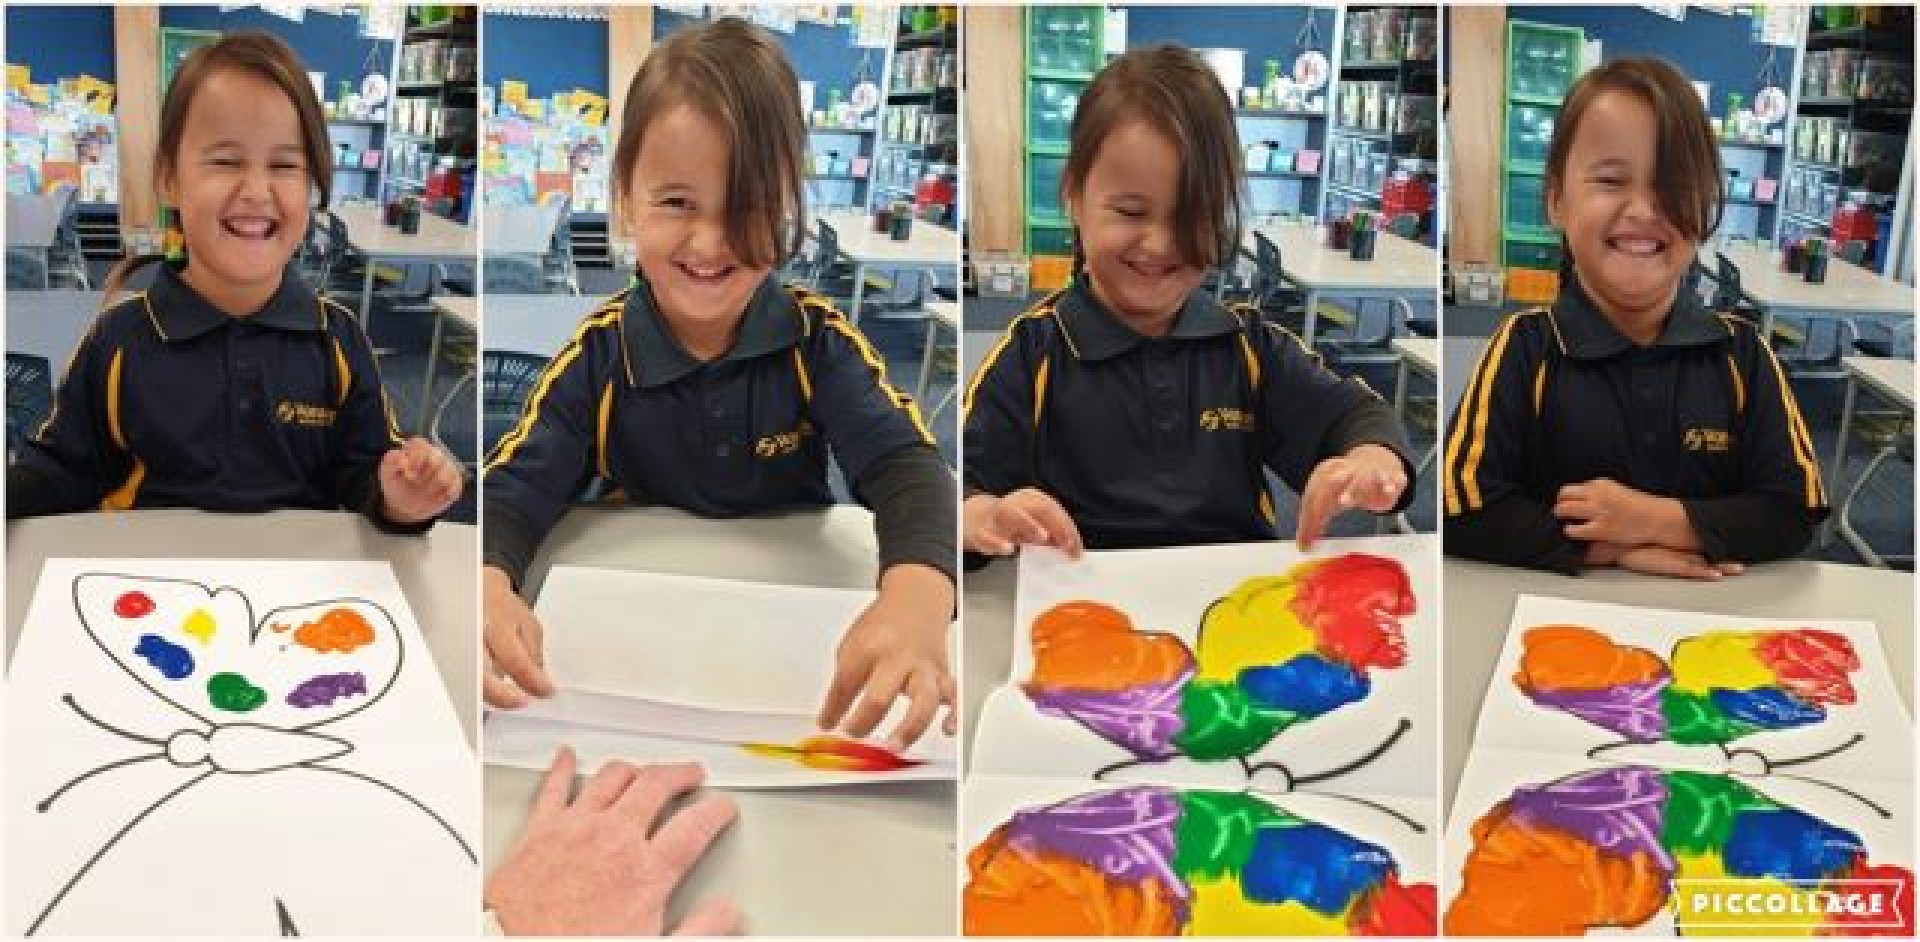
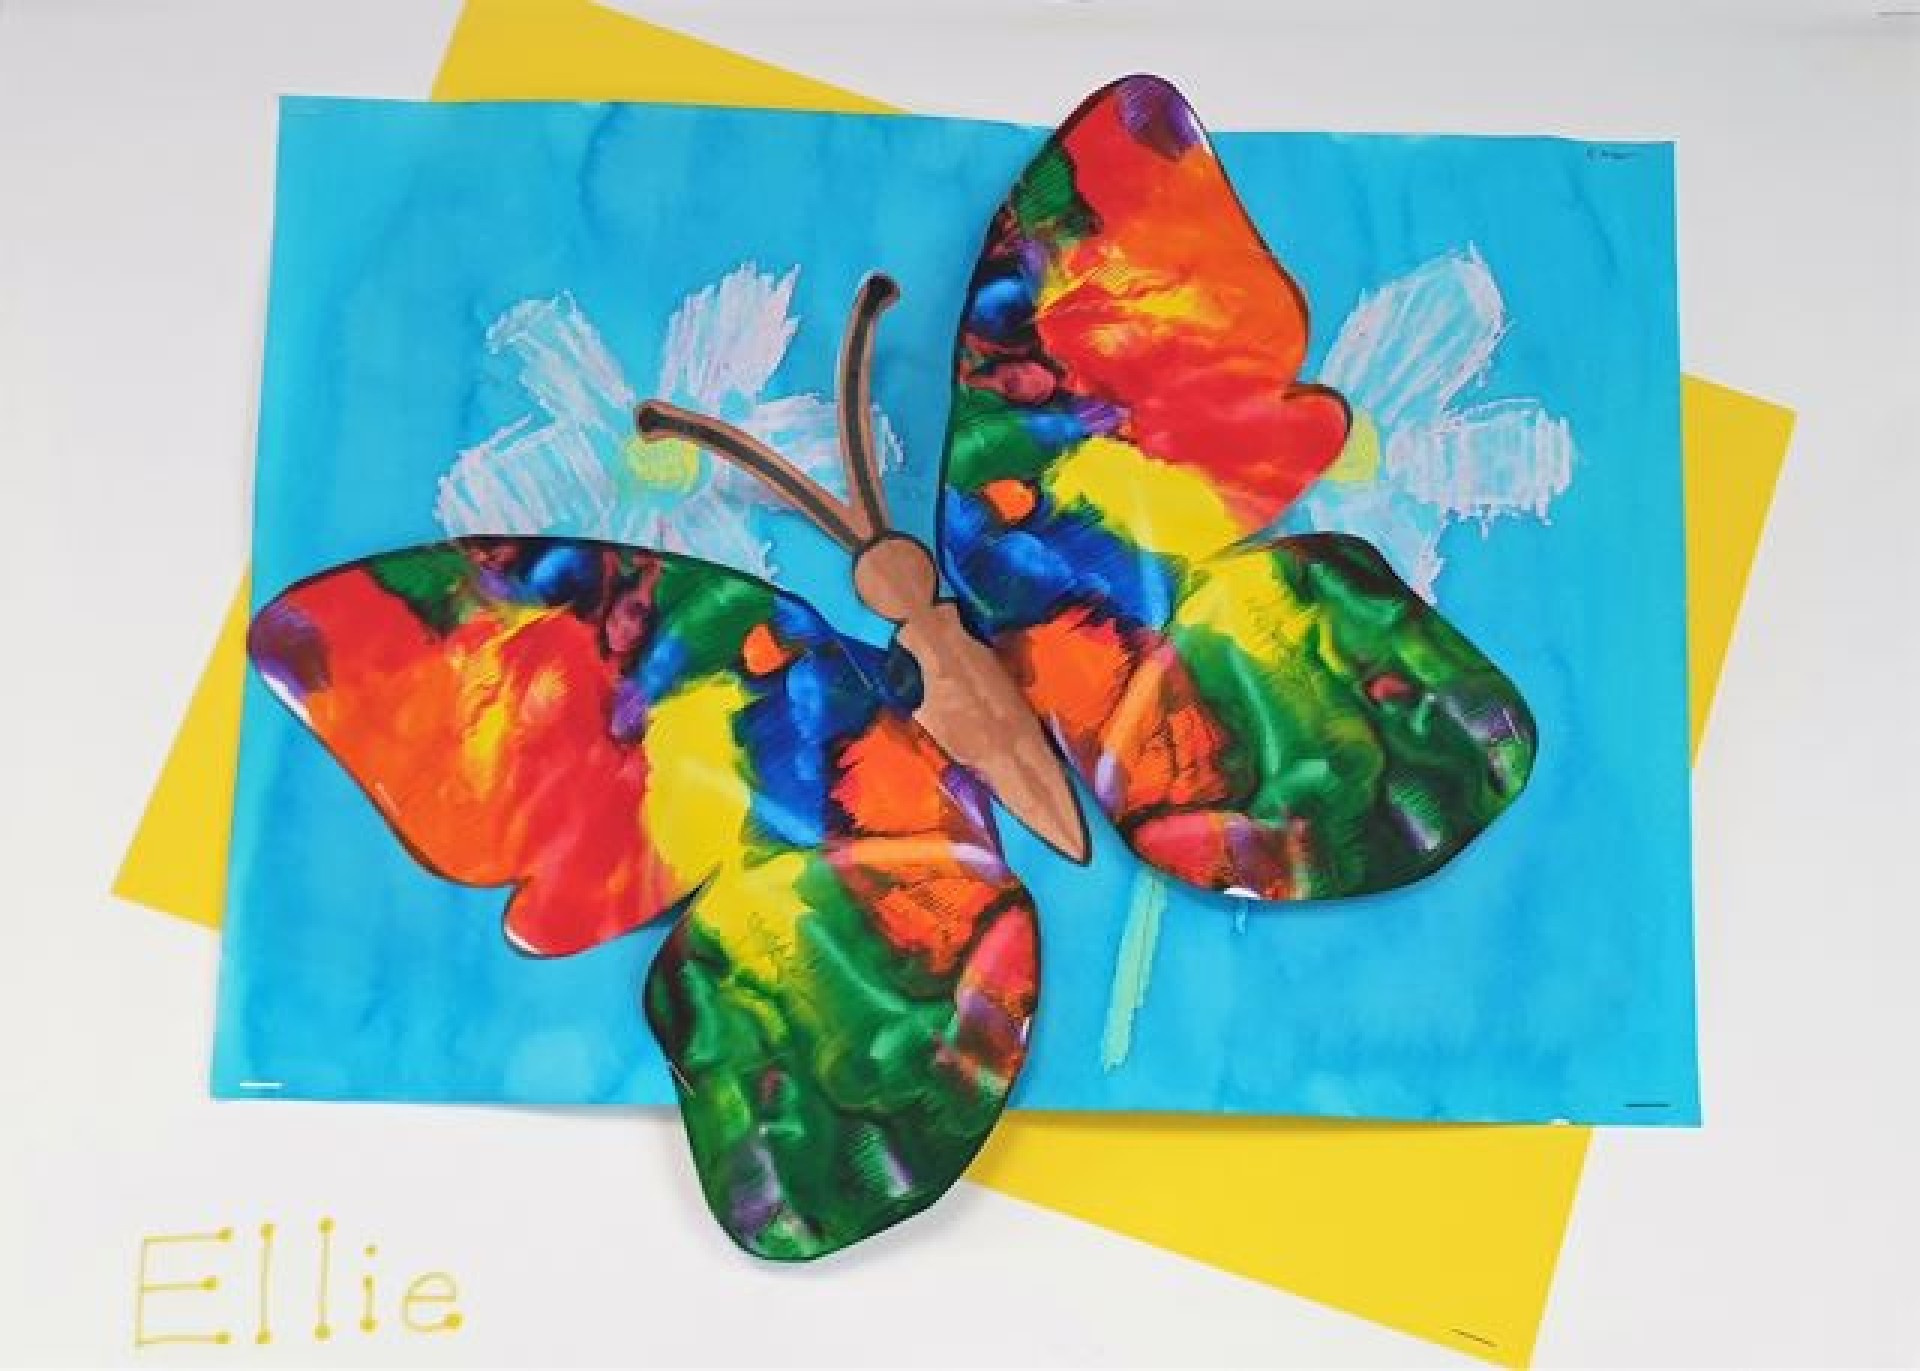
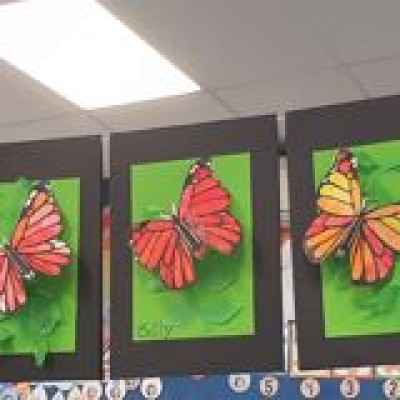
Students created a picture of a butterfly using acrylic paint on cartridge paper. They could use any colour for their butterfly. Using an outline, students added paint to one wing on one side of the paper and then folded it in half. The paper was pressed together. As each student peeled their paper apart, it revealed a beautiful, colourful butterfly.
Chrysalis Stage
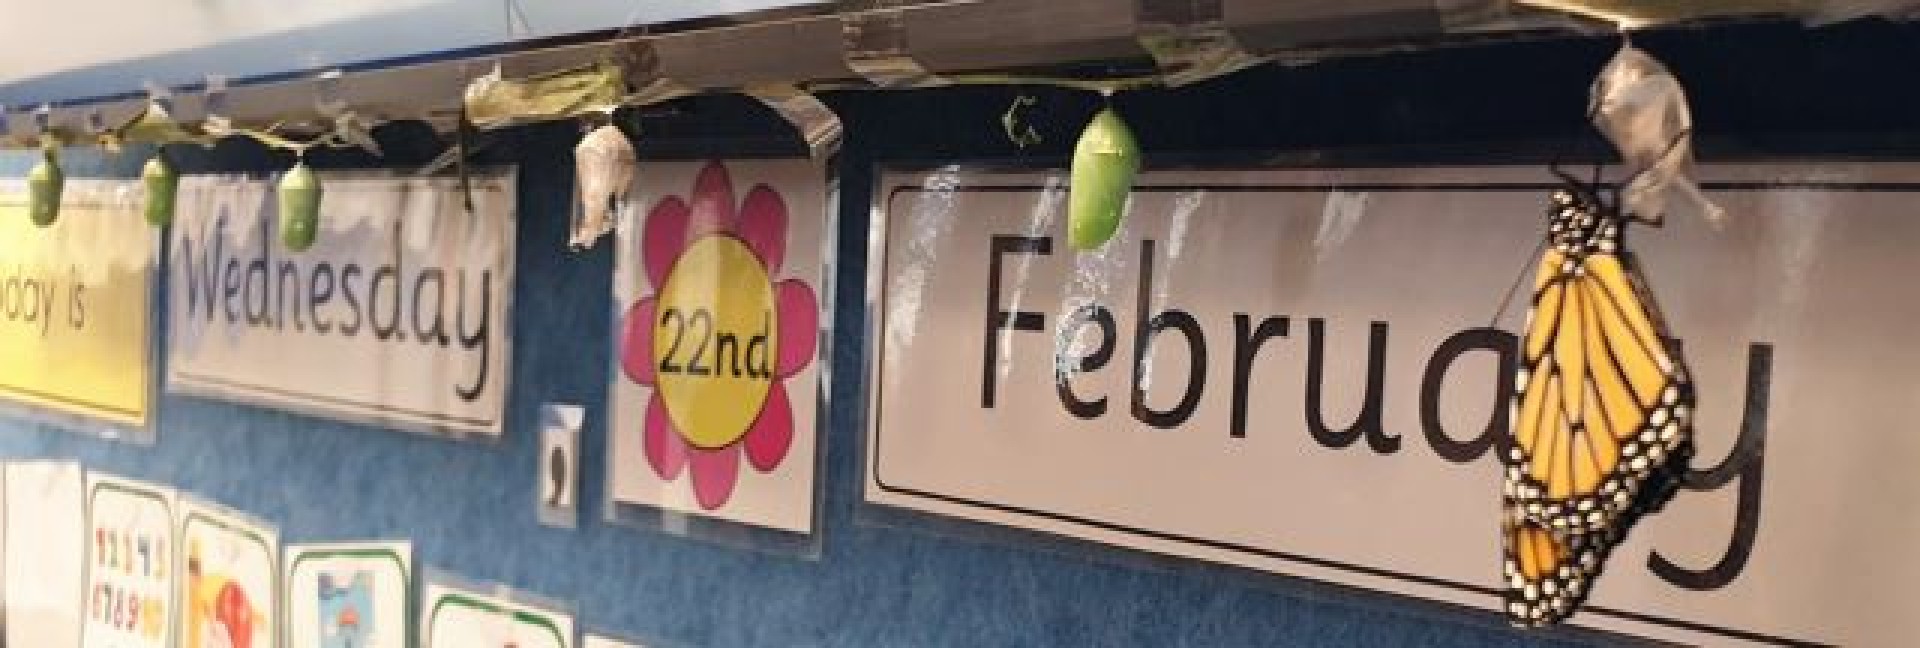
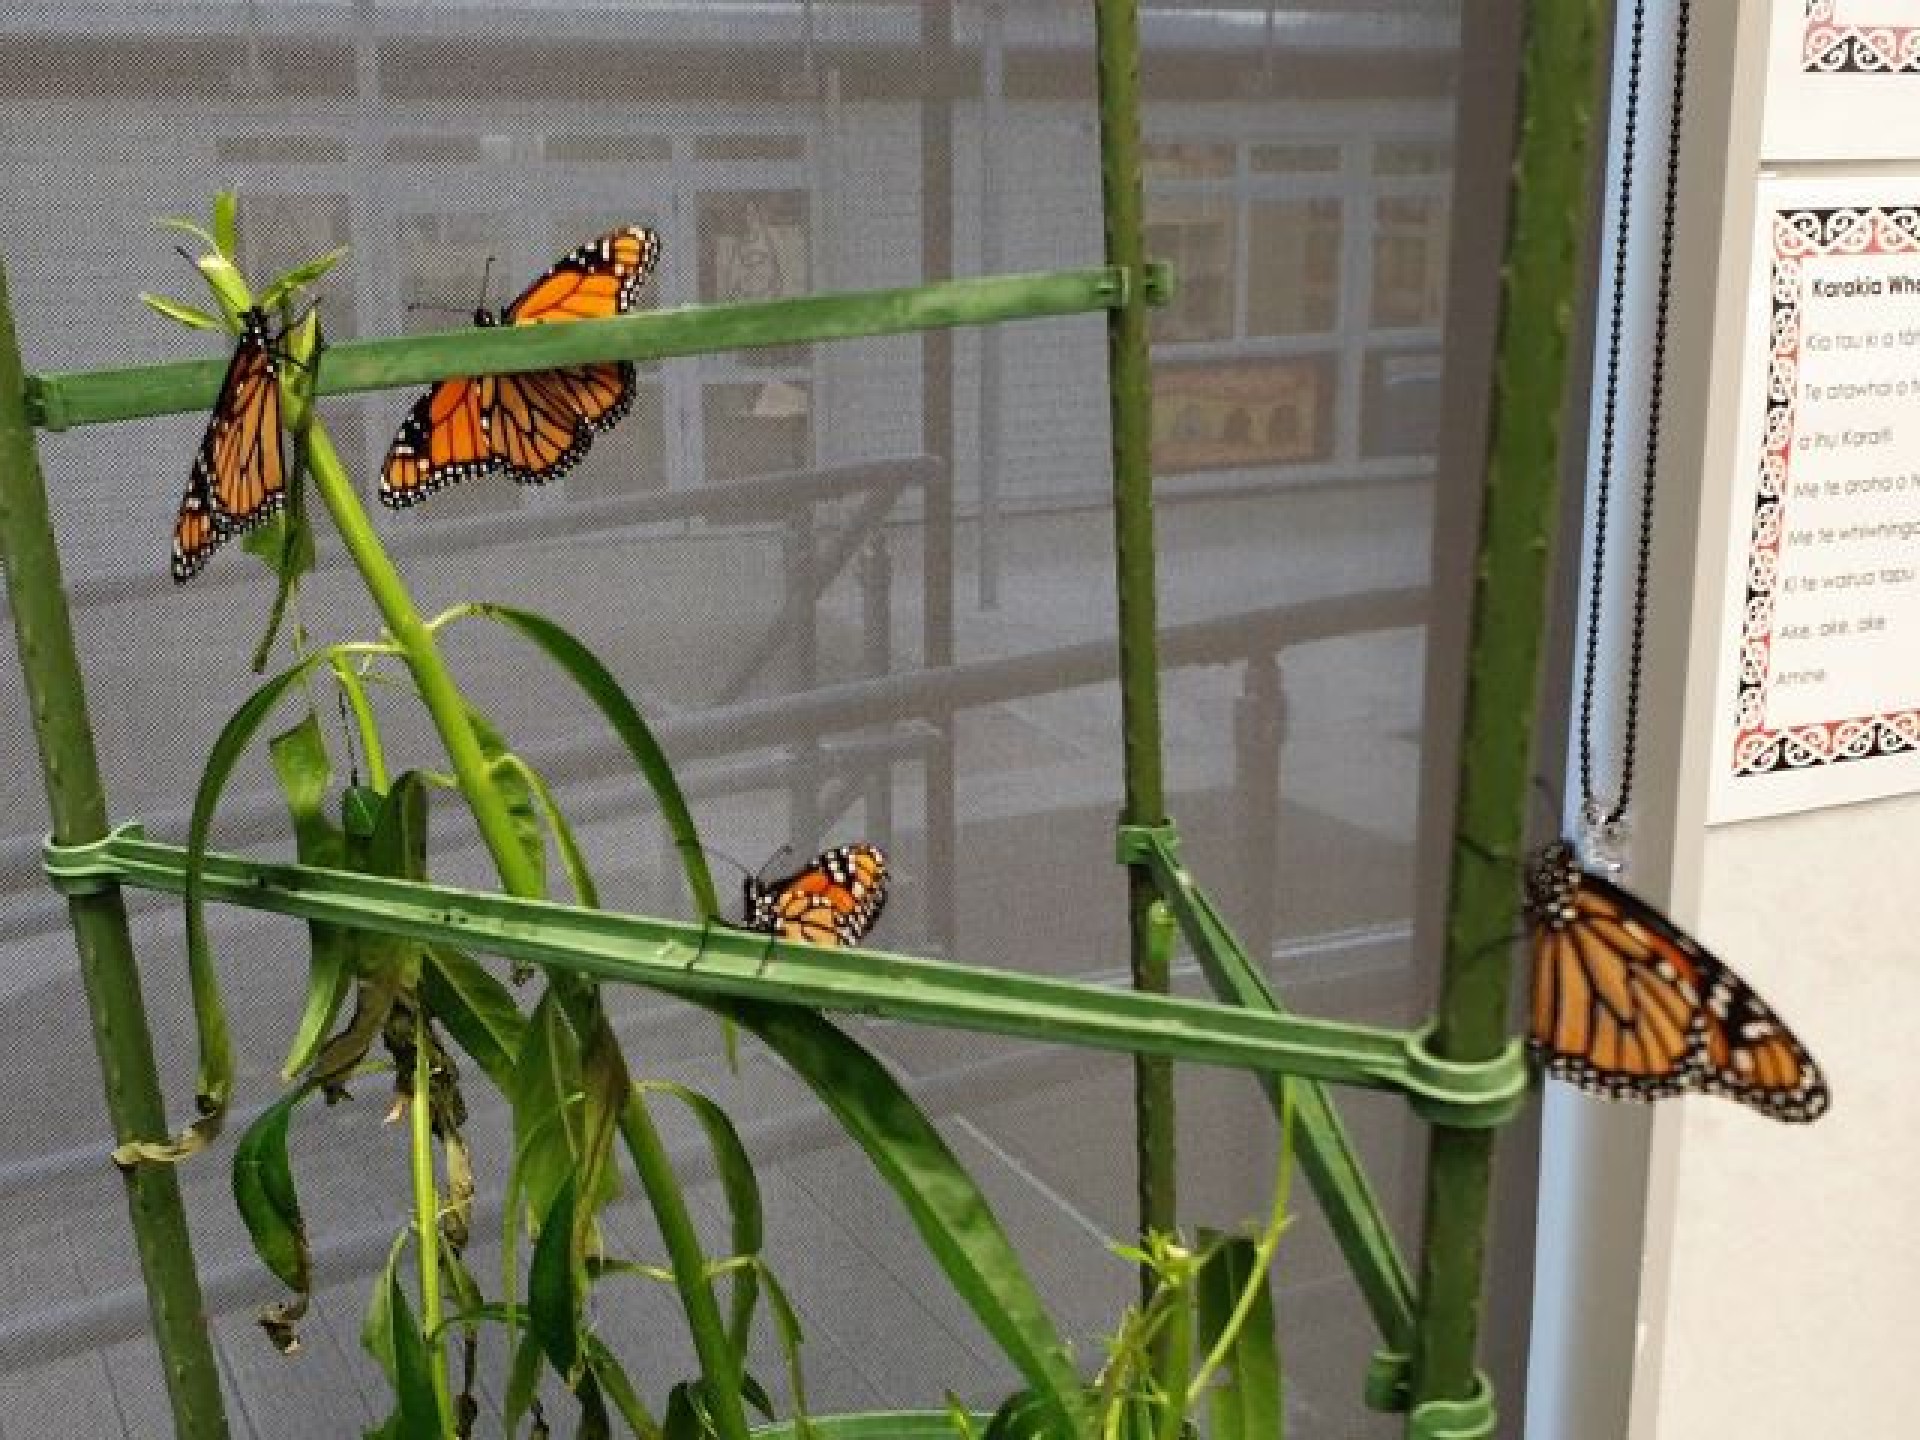
Mrs Griffin gently placed each chrysalis under the TV screen at the front of the classroom, so the students could watch each butterfly emerge. There were 8 chrysalises lined up.
Butterfly Stage
When will the butterflies come out?
Waiting for the first butterfly to emerge from its chrysalis seemed to take forever. Fortunately, when one chrysalis turned black, and the pattern of a wing could be seen, the excitement in the classroom heightened. Students counted 11 days from the formation of a chrysalis to the first butterfly emerging.
Making a Monarch Butterfly picture
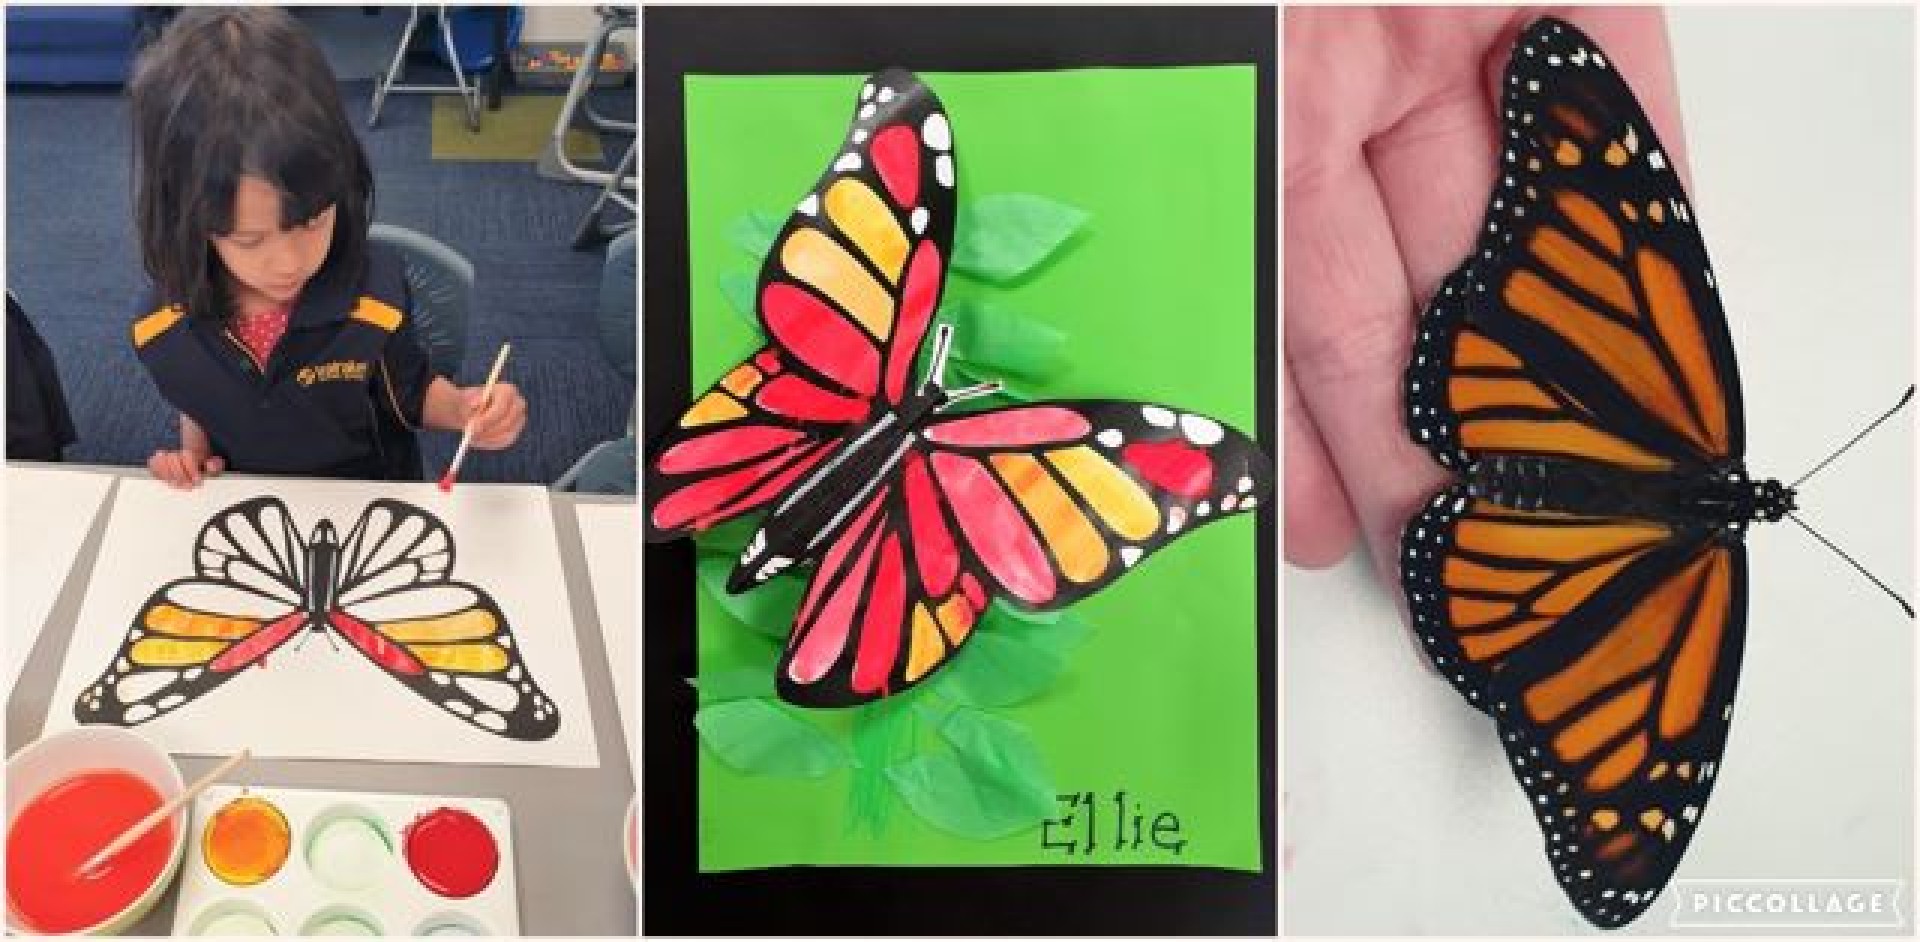
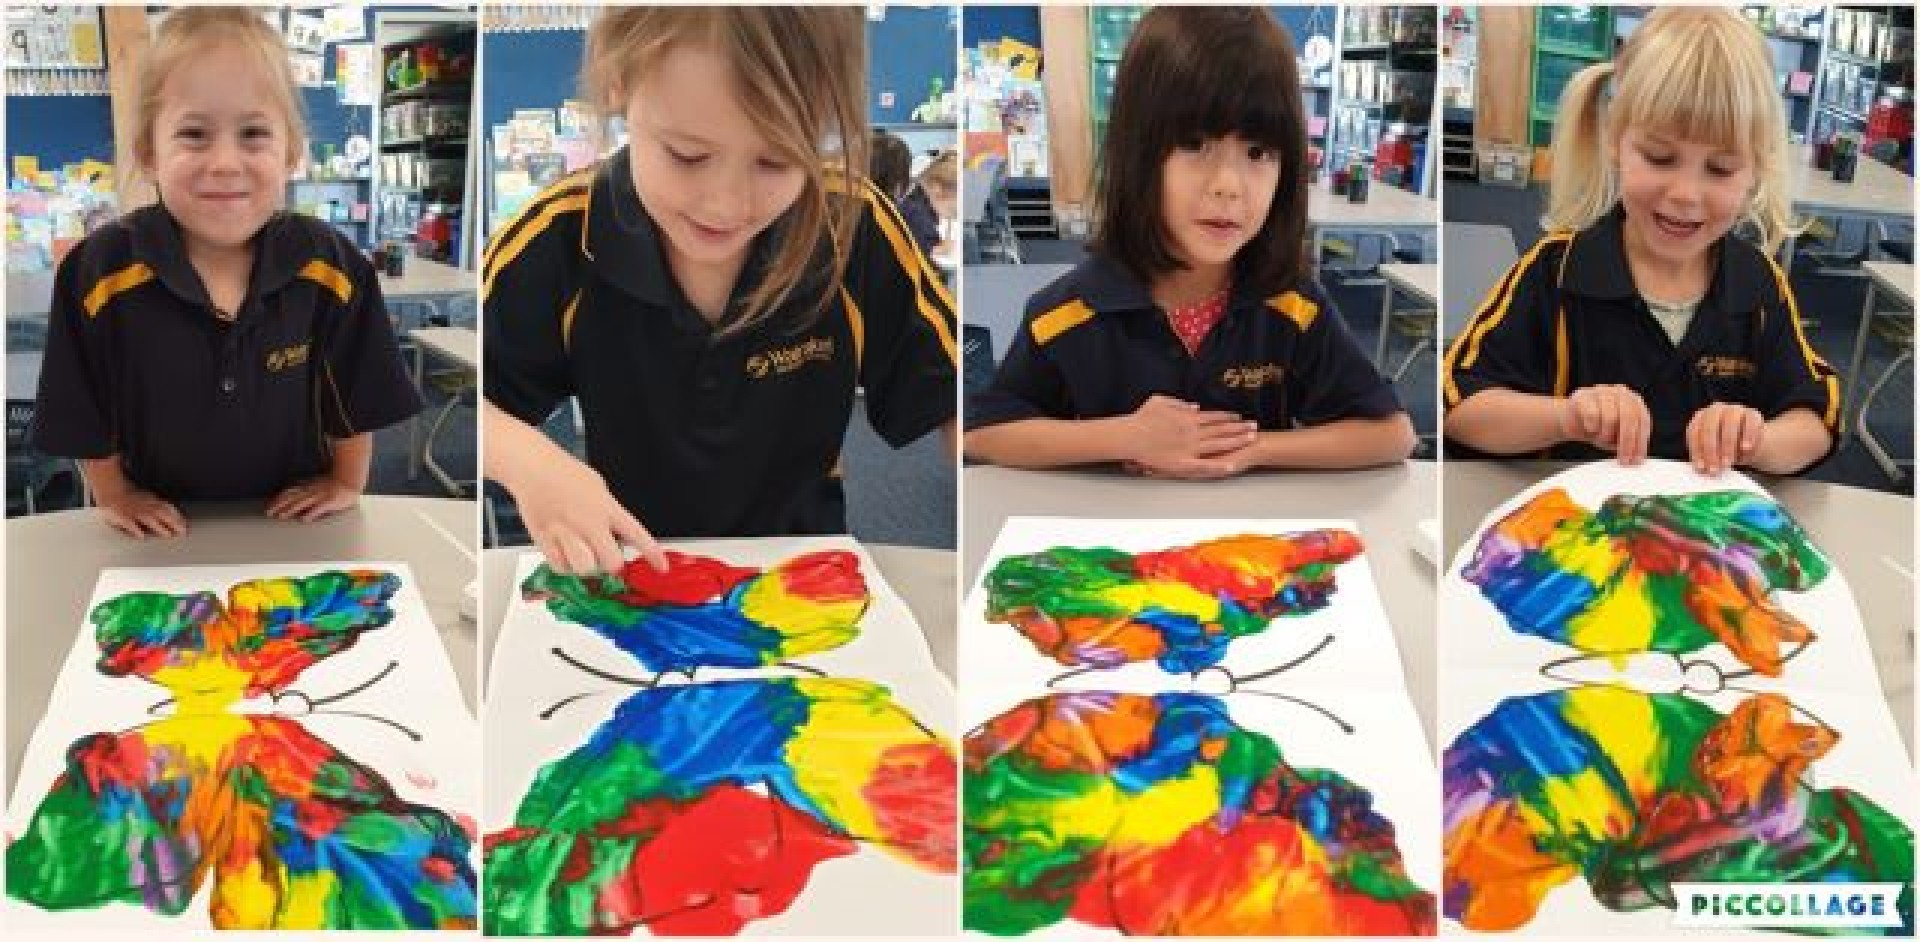
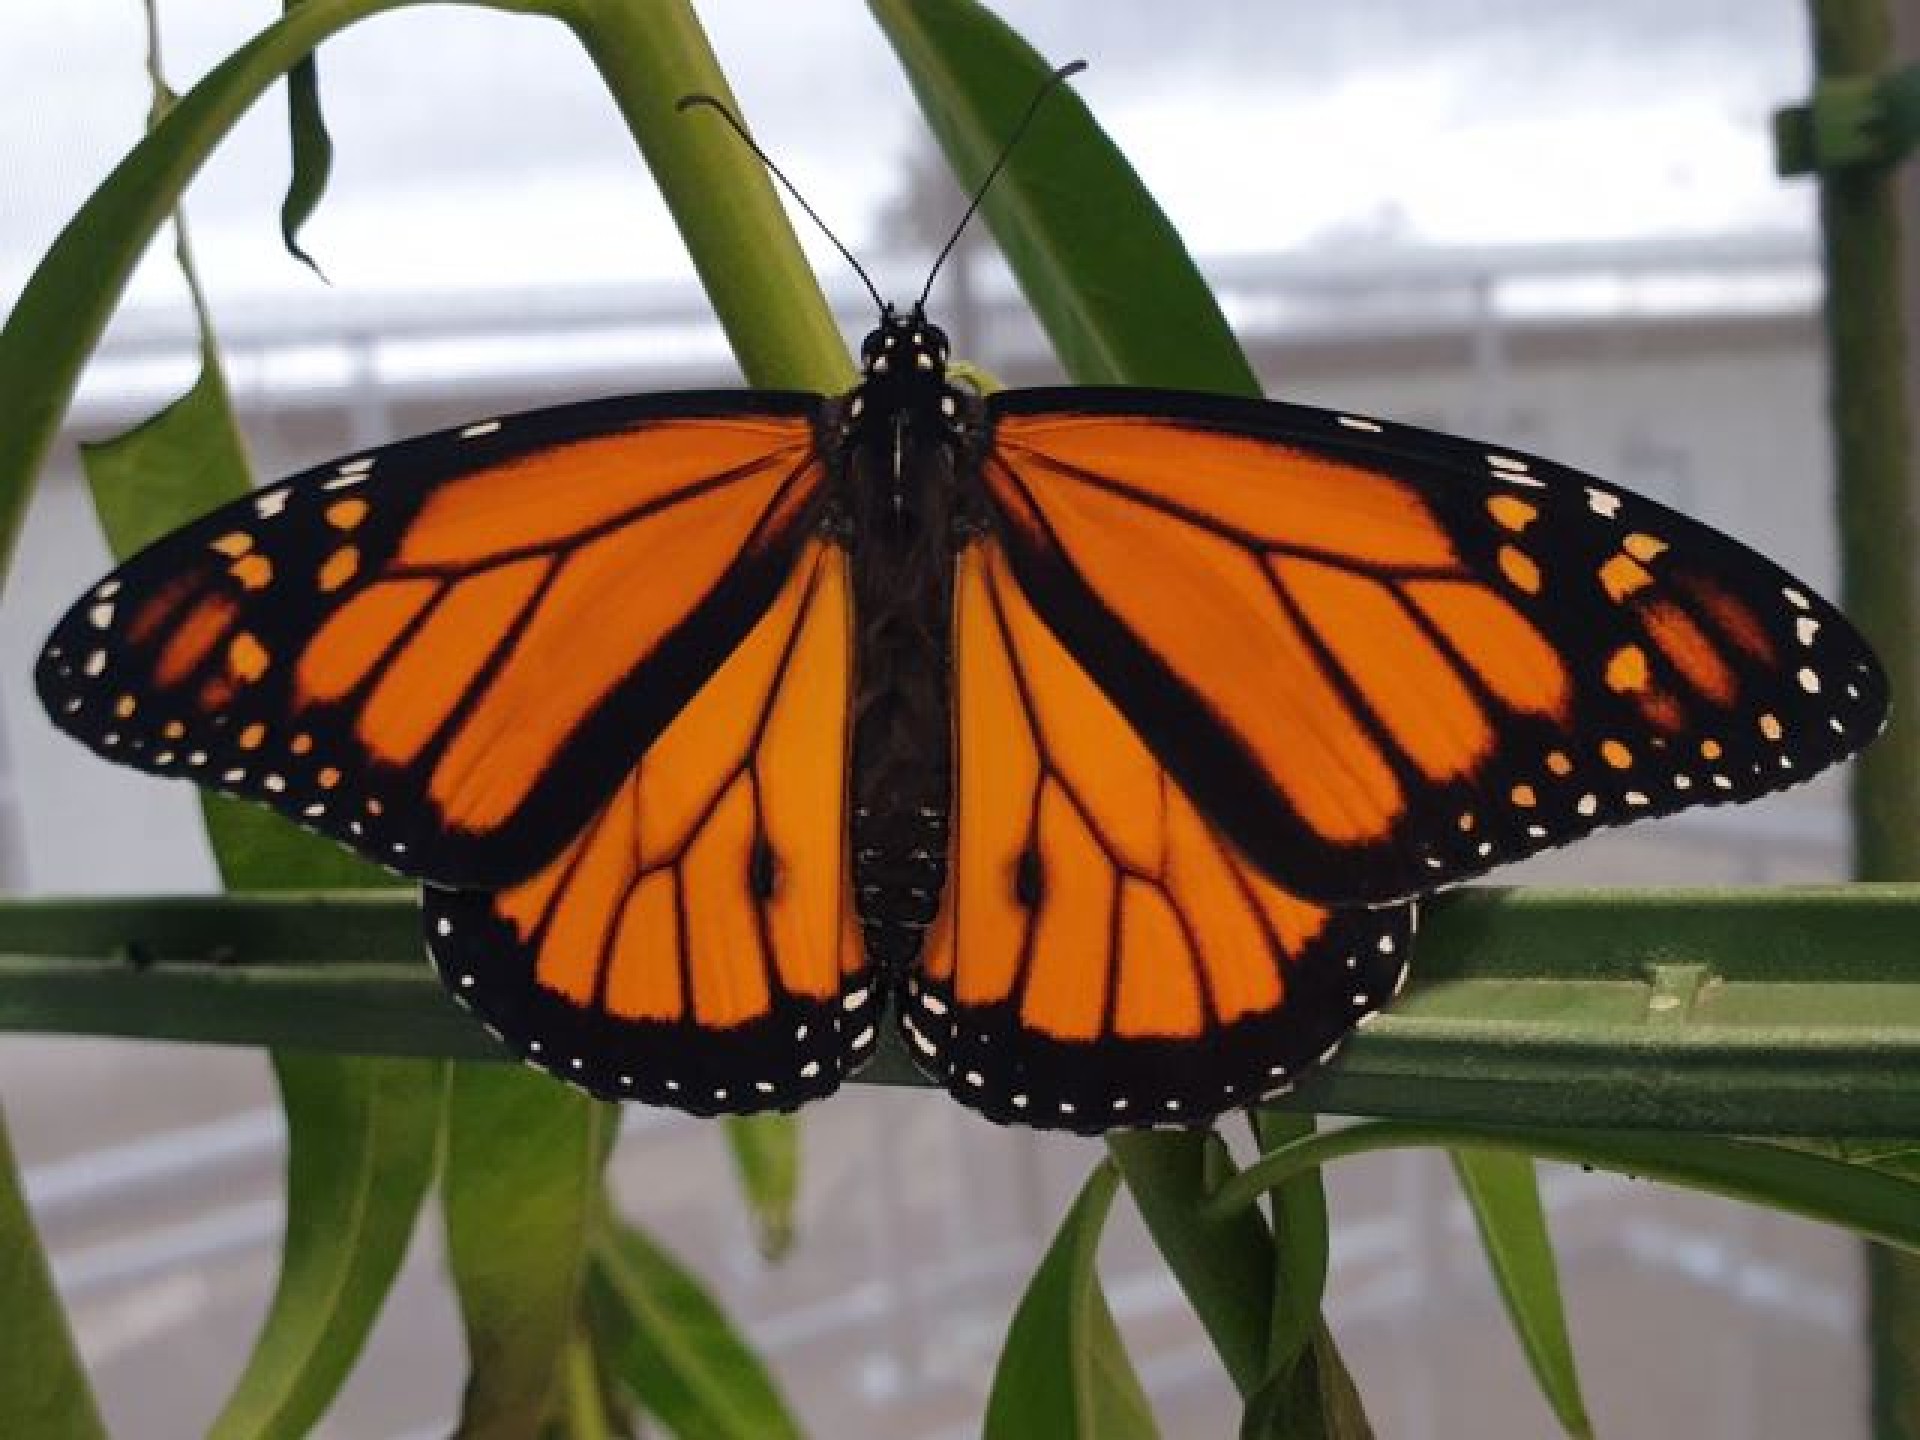
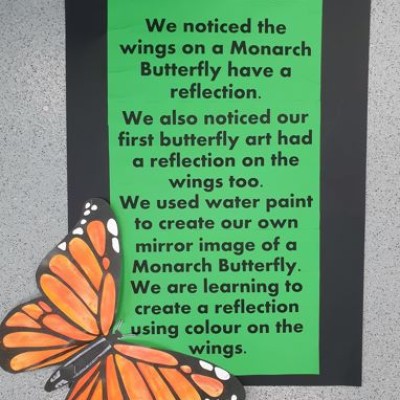
The students looked closely at the Monarch Butterflies, especially their wings. They noticed the wings had the same patterns, shapes, and colours on both sides. They were a mirror image. Mrs Griffin showed the students how their first butterfly artwork with the paper being folded caused a mirror image.
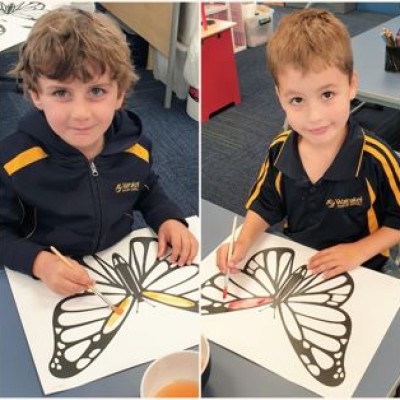
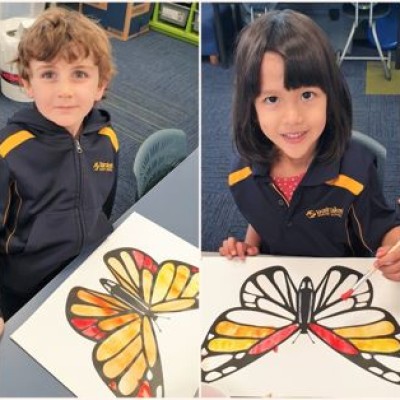
For the second butterfly artwork, students needed to create a Monarch Butterfly picture with mirror image wings using water paint. This time they had to apply the paint to both wings, making sure the colours were the same on both.
Ordering the Emerging Butterflies
When a butterfly emerged, the students labelled it with a cardinal number, 1st, 2nd, 3rd, etc.
Each butterfly looked slightly different to the next. Some had thick black lines on the wings, and some had a strange black spot on the lower wings. With some help from Mrs Griffin, the students learnt that butterflies with thin black lines and a black spot were male, while the female had thick black lines and no spot.
As each butterfly emerged the students identified it as being male or female. Out of the 8 butterflies, the students counted 3 males and 5 males.
Releasing
Letting the butterflies go was important to complete the Monarch Butterfly’s life cycle. Students understood the butterflies needed to fly away to find another swan plant to lay their eggs and start the cycle all over again.
Monarch Butterfly, life cycle, caterpillar, chrysalis, mirror image, sequencing, cycle



Comments are disabled for this post.