The picture book, “At the Old Haunted House” by Helen Ketteman wa used as a vehicle for consolidating learning around review writing. Te Mihi students have been learning to write reviews about books, movies and dance performances, and this story was a change of genre. Room 10 couldn’t resist the opportunity to use the story as artistic inspiration and learn some new skills around painting with watercolours.
I enjoyed reading the book about the haunted house and it was fun to then draw and use paint and pastel to make my own haunted house.
Ryleigh
While the focus of the lesson was on blending two watercolours so that the transition is soft and seamless, this was the final step in the process.
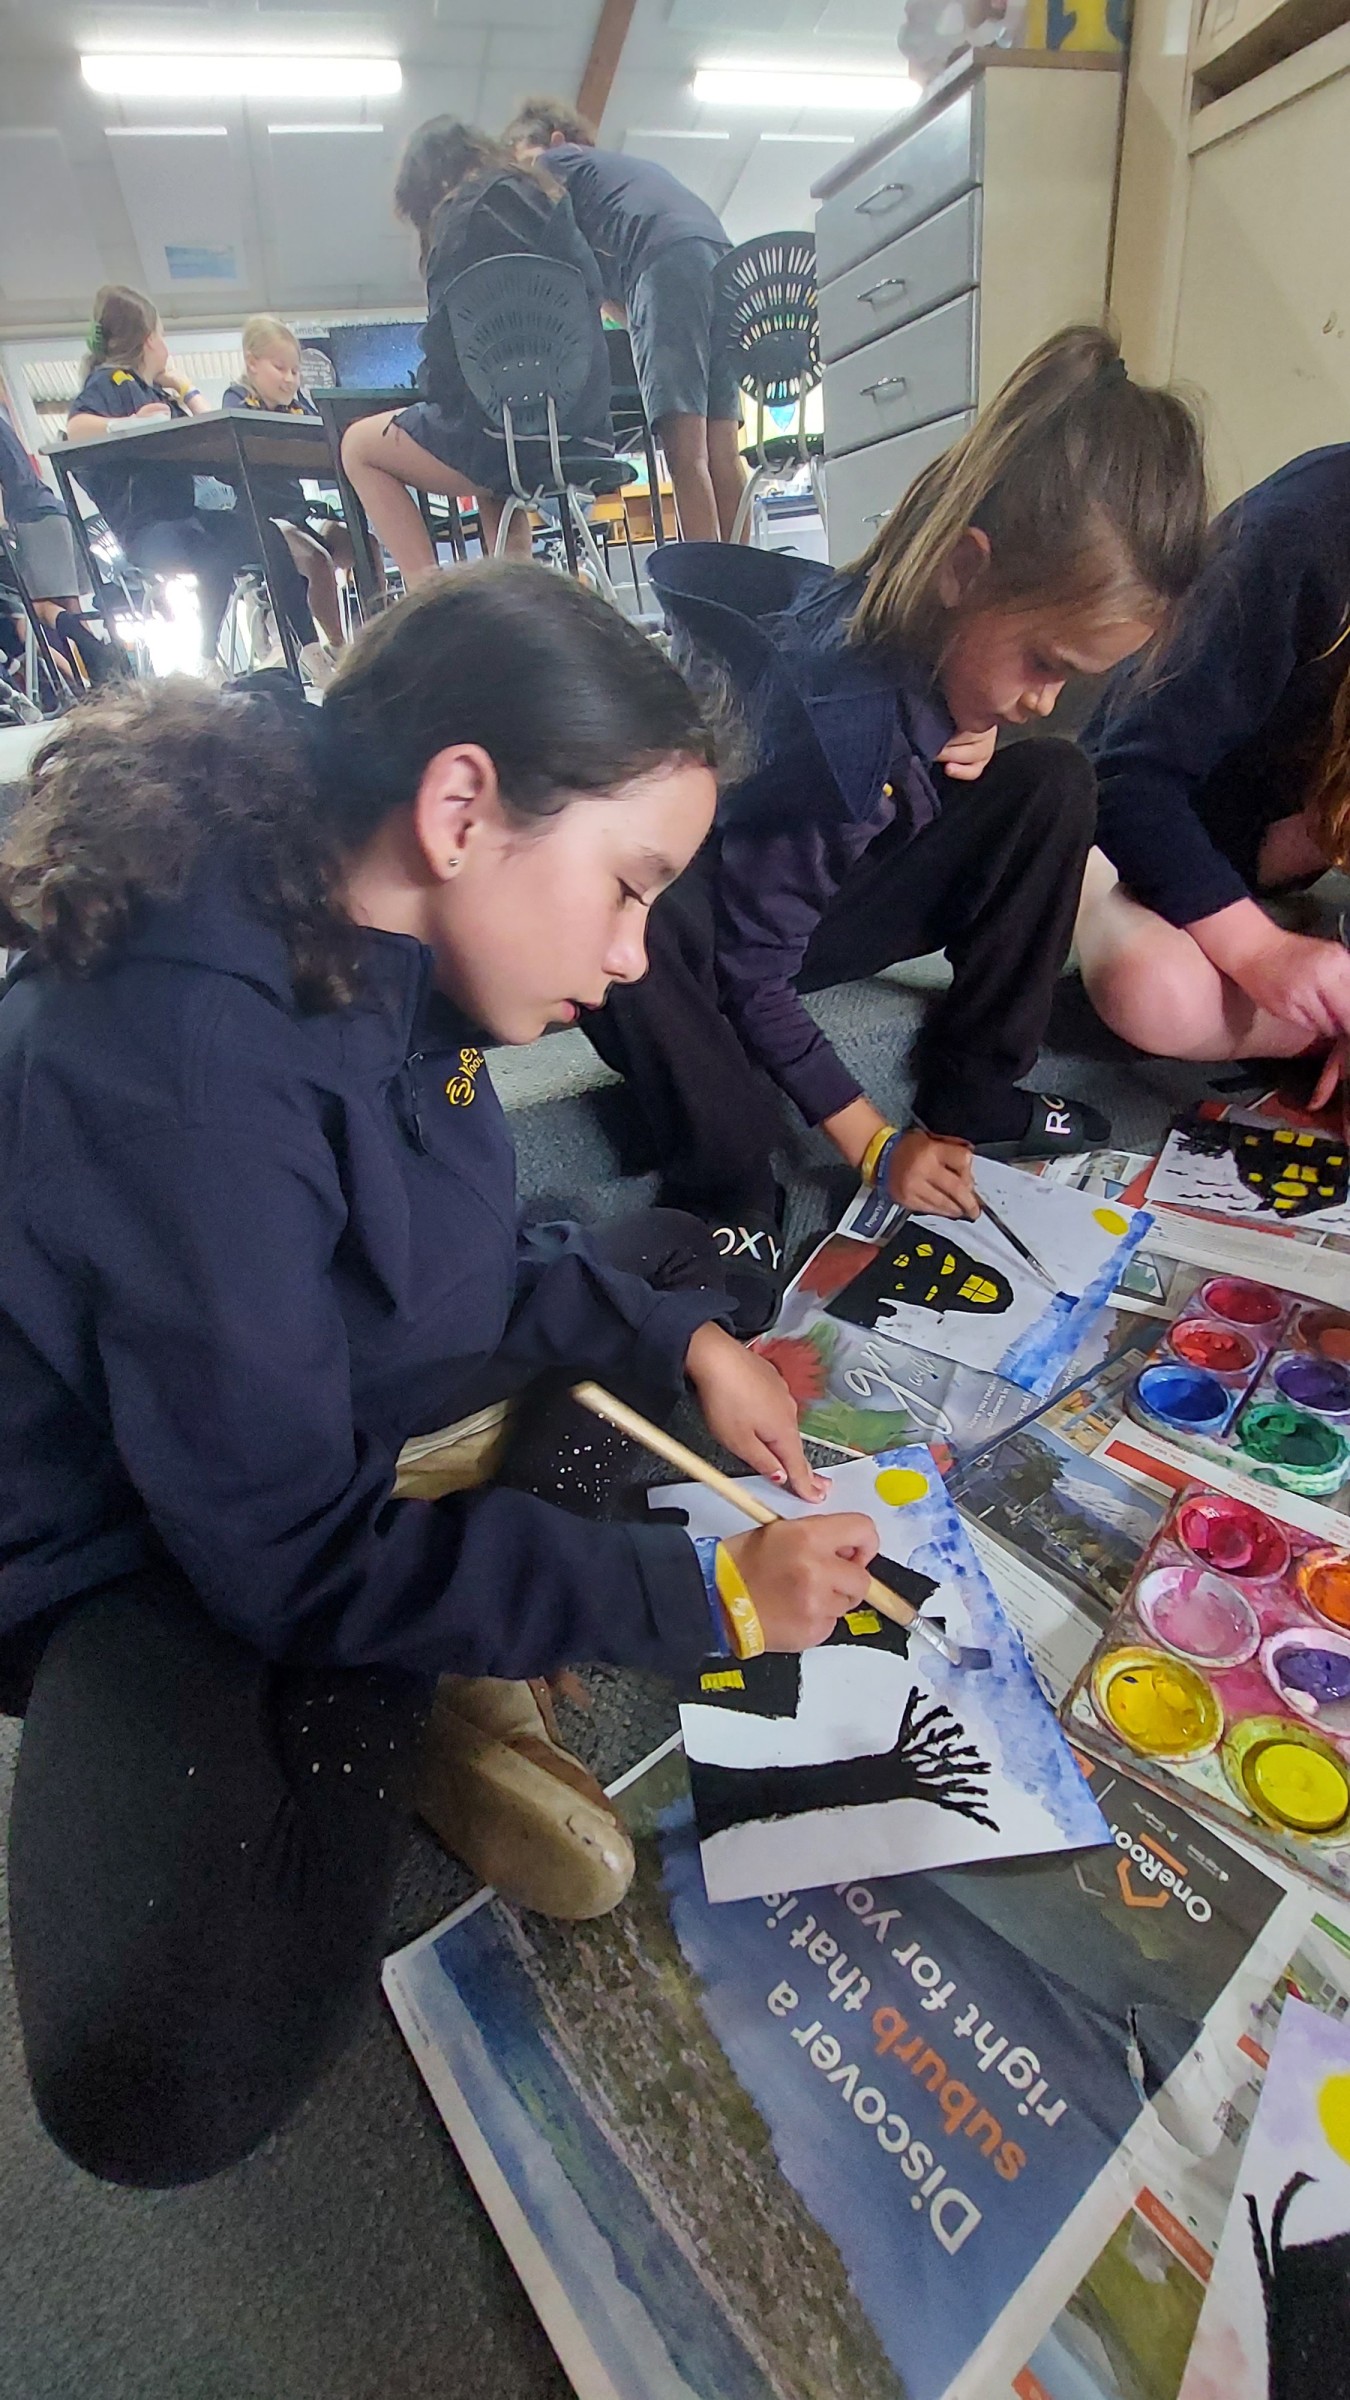
Firstly, we looked closely at the effect of silhouettes in art, and what makes a house look creepy. After studying images of ‘haunted houses’, the students noticed that dark, oddly shaped, ramshackle houses made them seem spookier. They sketched out the basic shape of their haunted house with an emphasis on imperfection and crookedness.
I liked that the houses were curved, not normal houses. It made them look more haunted.
Indie


Once the basic house shape was drawn, students added crooked balconies, chimneys, turrets and windows to add to the overall feeling of a haunted house. Some students introduced gravestones and bats for extra impact. Once the basic outline was completed, the students coloured their house using oil pastels - black for the house and surrounding hills, and yellow for the windows and the moon. Oil pastels repel water so they are a fantastic medium to use with watercolour. However, they are also extremely easy to smudge, so students had to be careful when working on their piece.
I enjoyed making the colours pop. The yellow and the black really popped against each other. I also enjoyed using different colours to create the background.
Sofie


The students worked in groups to apply watercolour paint to their artwork. Because they were using it to create the sky, they were asked to choose two realistic colours for this. After some discussion, it was decided that green would be the only unsuitable colour given that shades of blue, purple, pink, red, orange and yellow could all be seen in the sky at different times of the day or night. There was a lot of teaching around how to apply the paint to avoid lines in their artwork, as well as blending techniques to avoid a harsh line between colours.


I learned how to blend watercolors. I did it by using two different colours and combining them in the middle. It was easy.
Travis
I learned that it was best to use bigger paintbrushes with the watercolours and also not to swipe the brush, but use a dabbing motion.
Dane
There was a lot of incidental learning as the students worked through the process. The students found that the wetter their paint was, the lighter the colour of their art, while drier paint resulted in a deeper, darker pigment.

Indie’s completed artwork

Scarlett’s completed artwork

Travis’ completed artwork

Evie’s completed artwork
I enjoyed being able to use interesting shapes to create my haunted house and I enjoyed experimenting with the different water colours to make the background. I really enjoyed the overall process of creating my art.
Evie

_____________________________________
Key words: Visual Art, Watercolour, Blending, Painting, Sketching, Halloween
Comments are disabled for this post.