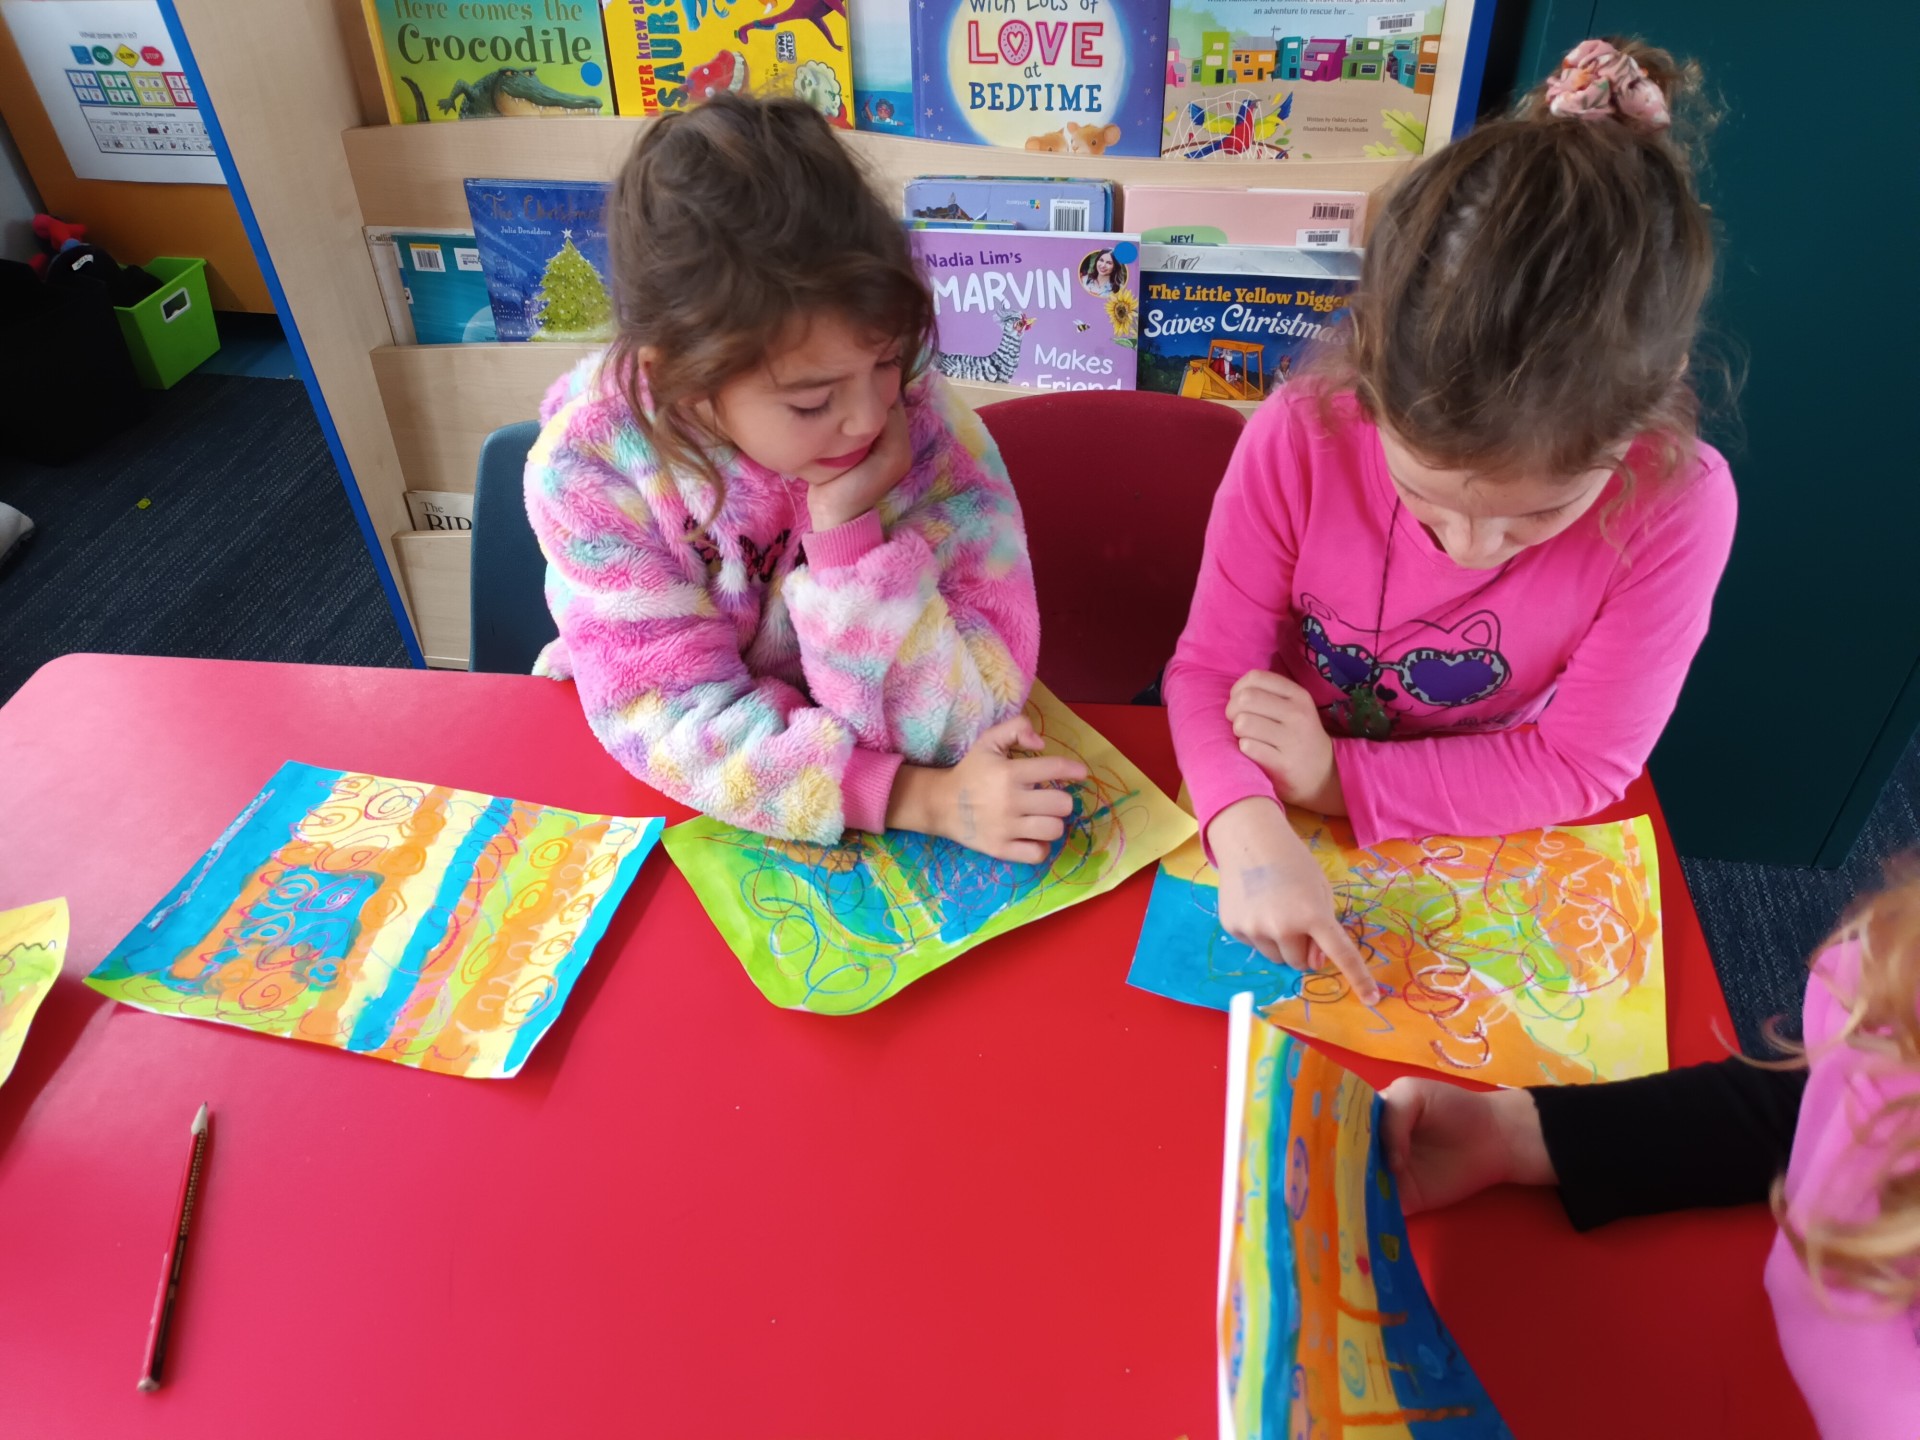
Coloured dye was brushed over the lines to show water, trees, plants, leaves, sand or grass. The students shared what they had drawn and explained why they had chosen the different coloured dyes. This paper was later used for the owl’s wings.
My owl can see lemons, the moon, bugs flying around, a fence, a river, lines on the road and the wind.
He can see motorbike track loops, a red hot sky, big fences, bugs, and a stream.
My owl sees a whirlpool, swirls of wind, buildings, the night time sky, hills and a flight path.
The owl sees snail shells, big waves, clouds, boats and a flat lake.
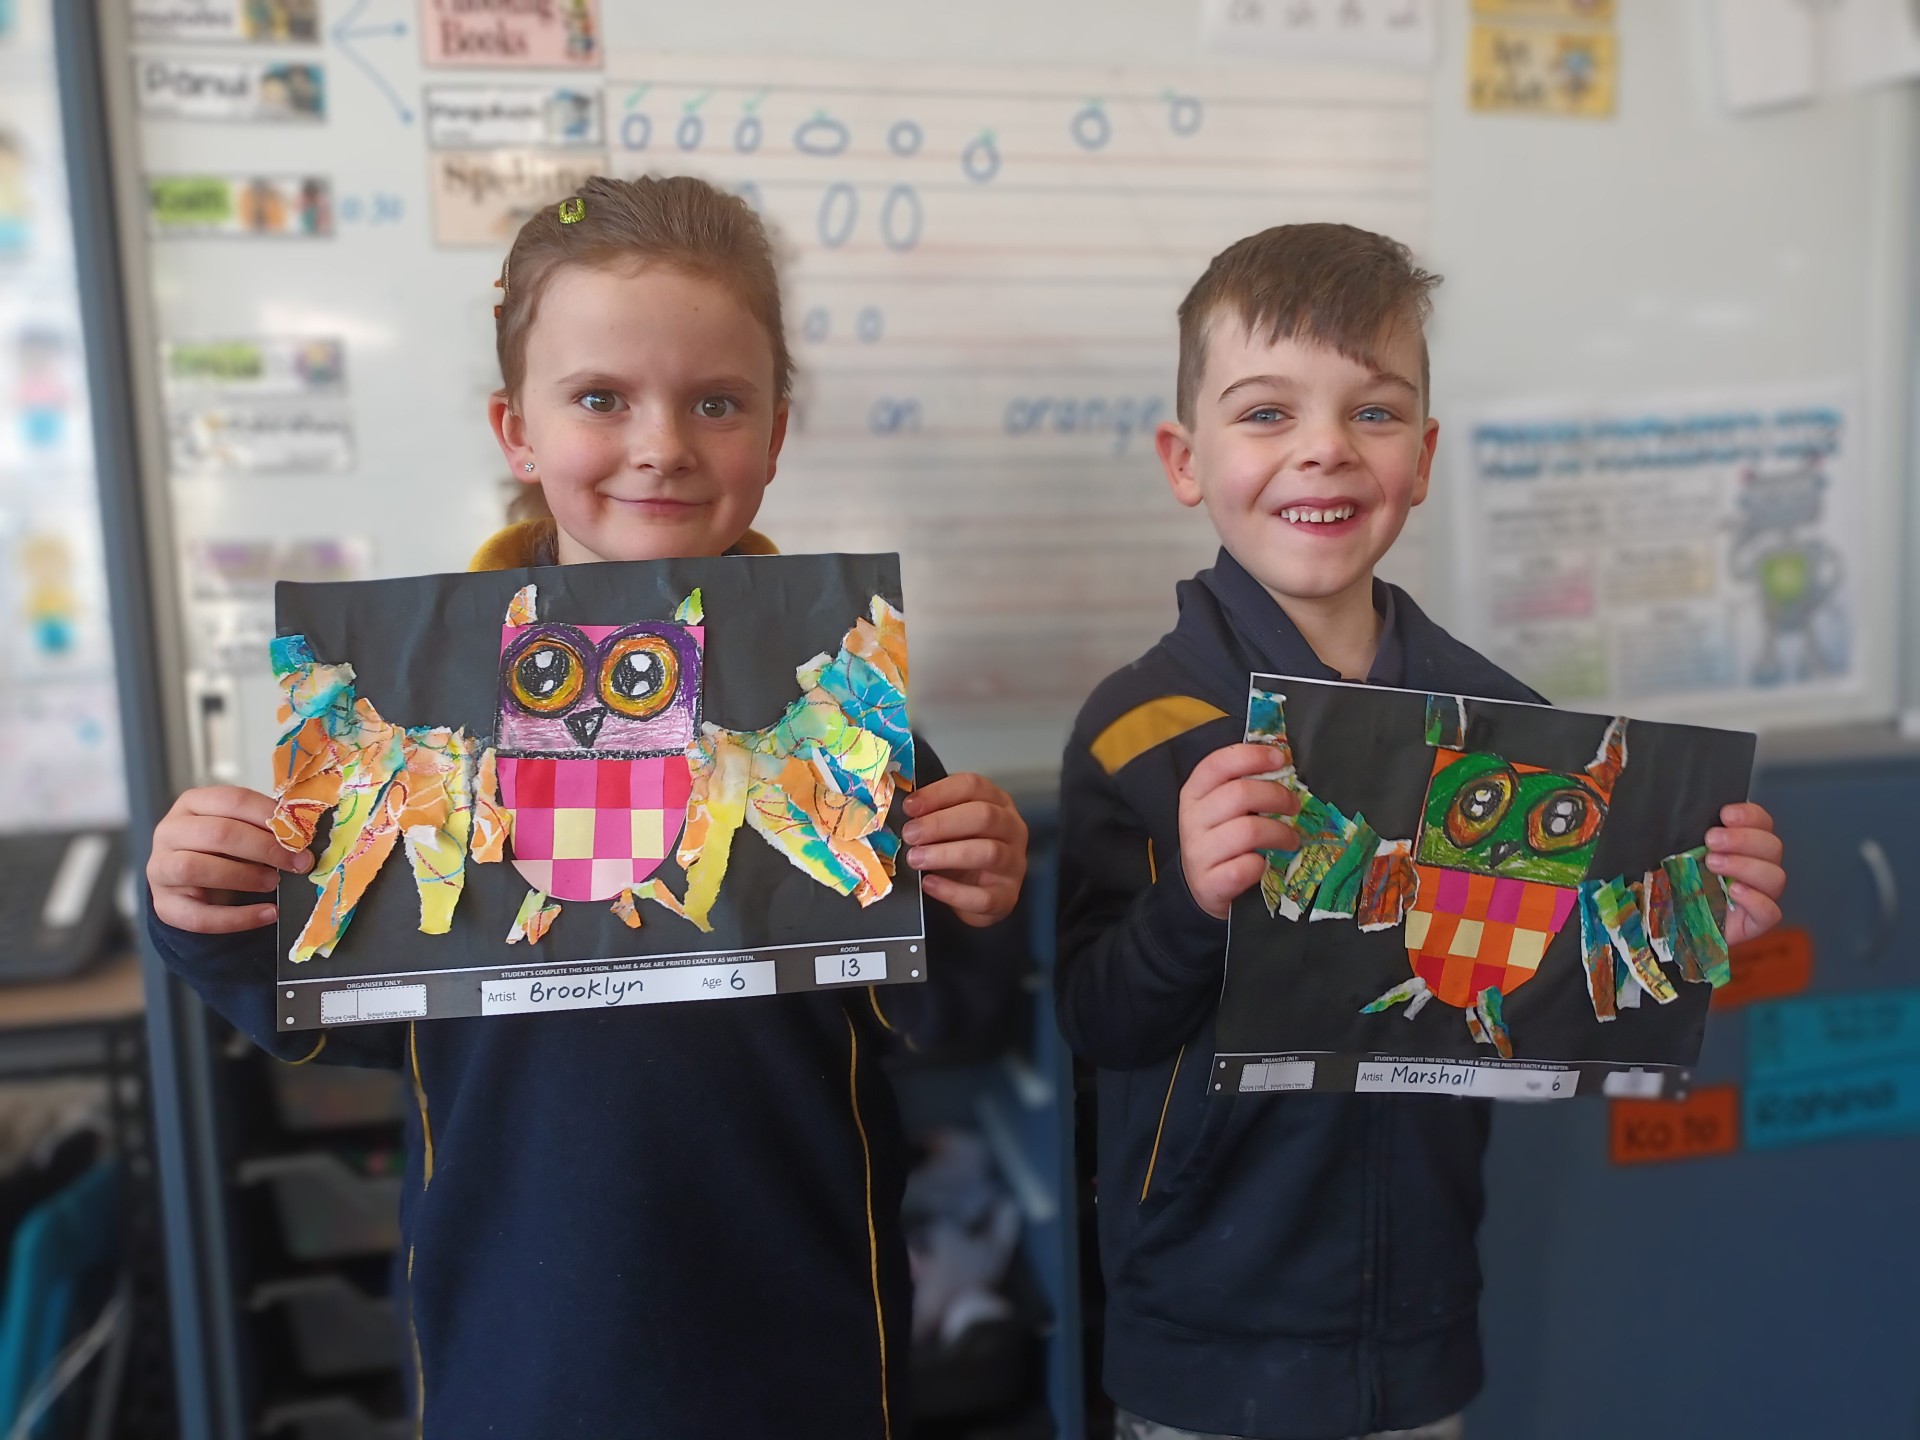
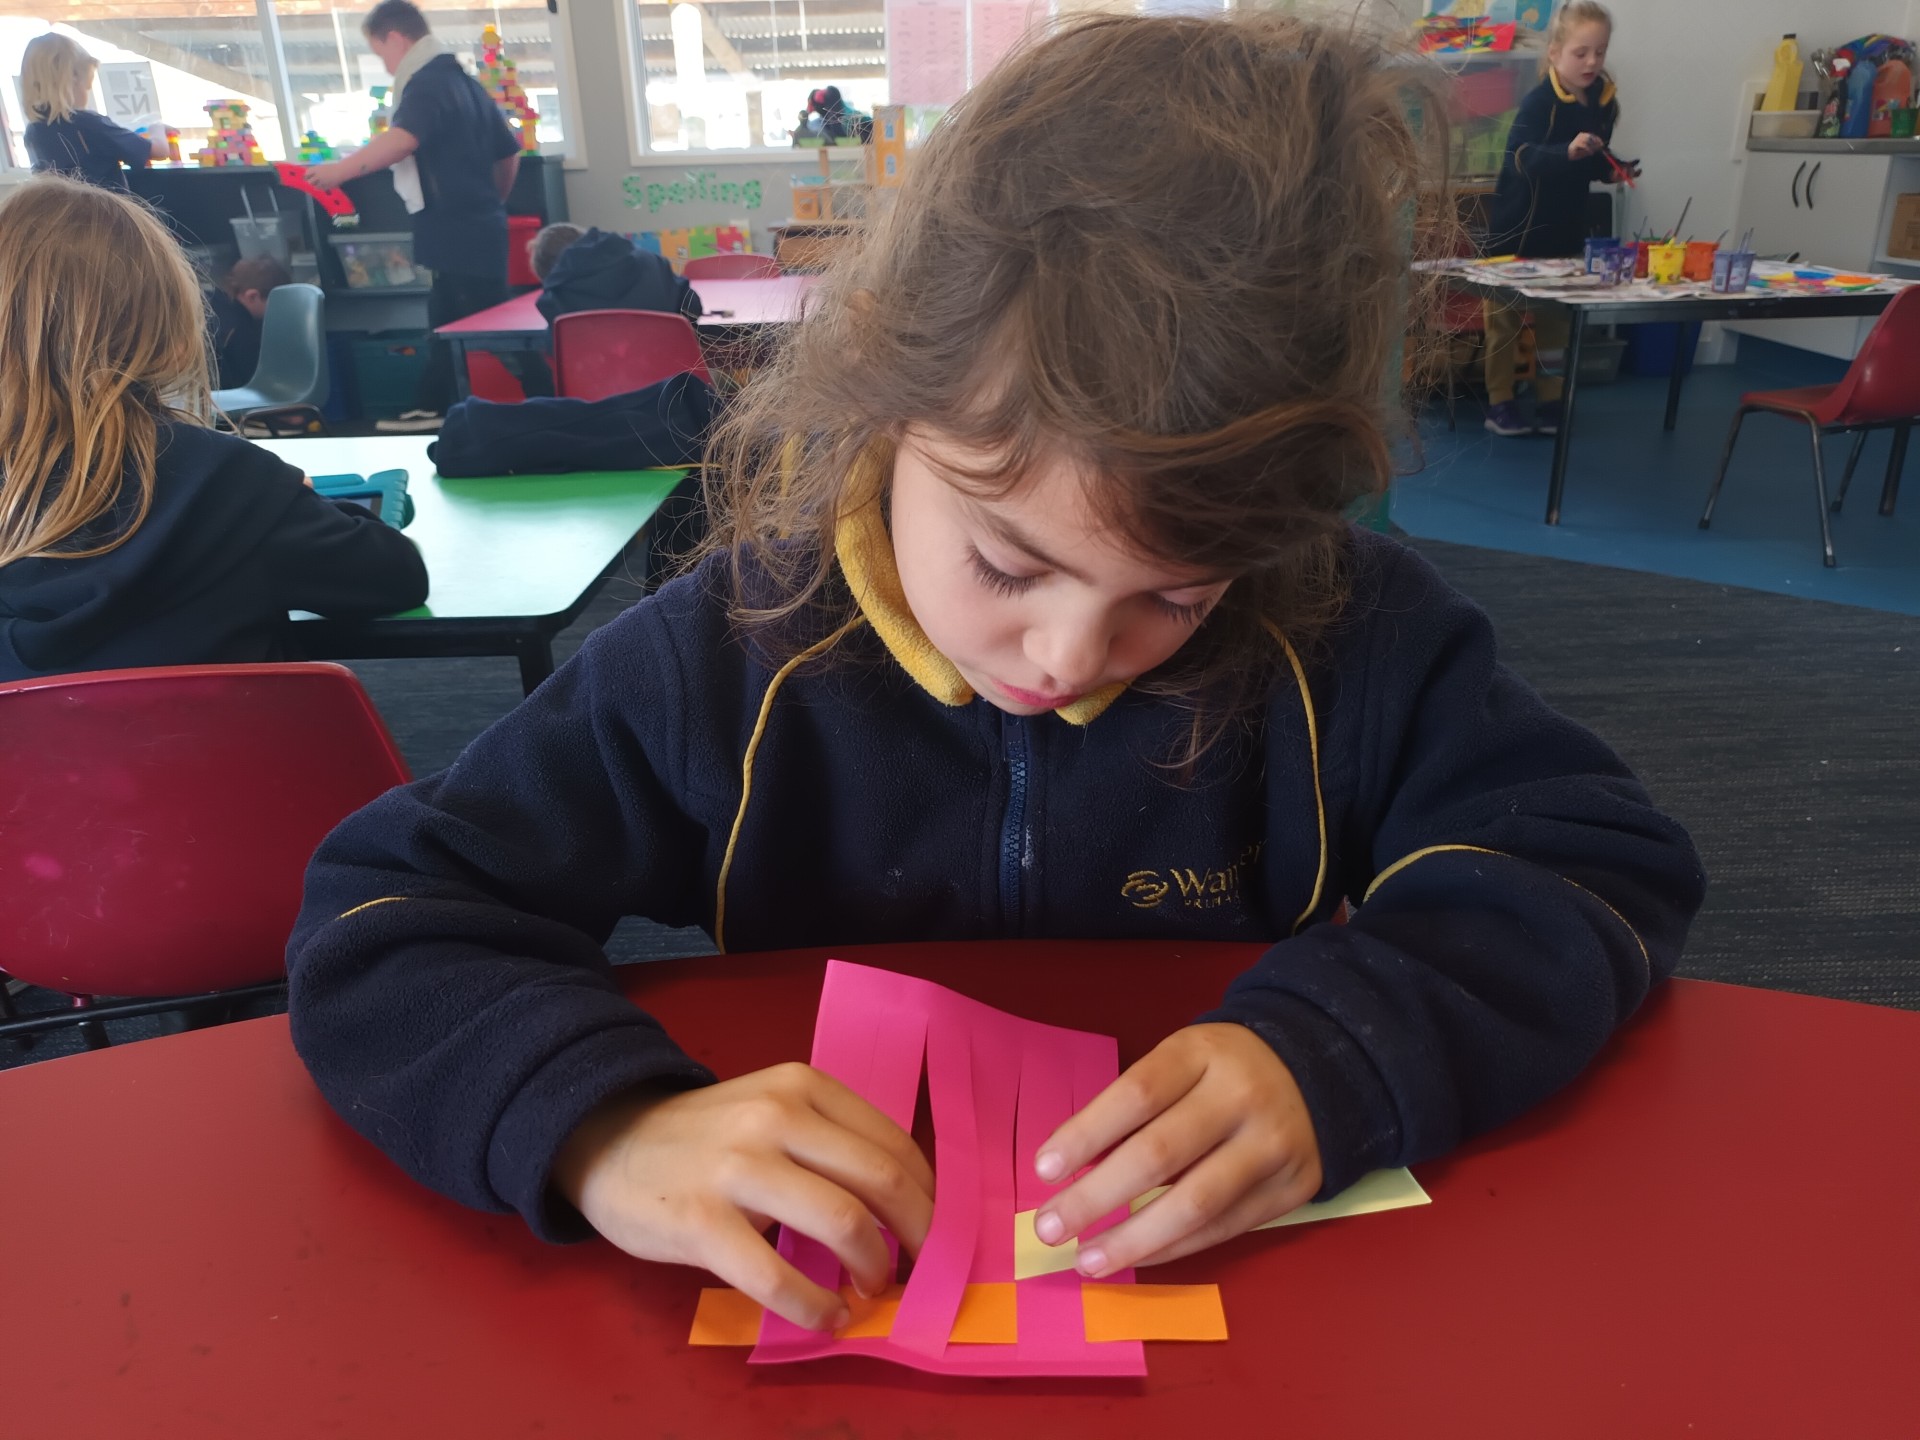
The body of the owl was woven. This provided a lovely texture to feel and look at. The loom was cut out of a small piece of paper. Because the warp threads had not been cut all the way to the end the loom was easy to manage. Strips of paper were used as the weft threads. Bright coloured paper was chosen to show the different coloured lights the owl would see at night. These could be the stars, headlights, animal eyes, street lights and lights seen through windows.
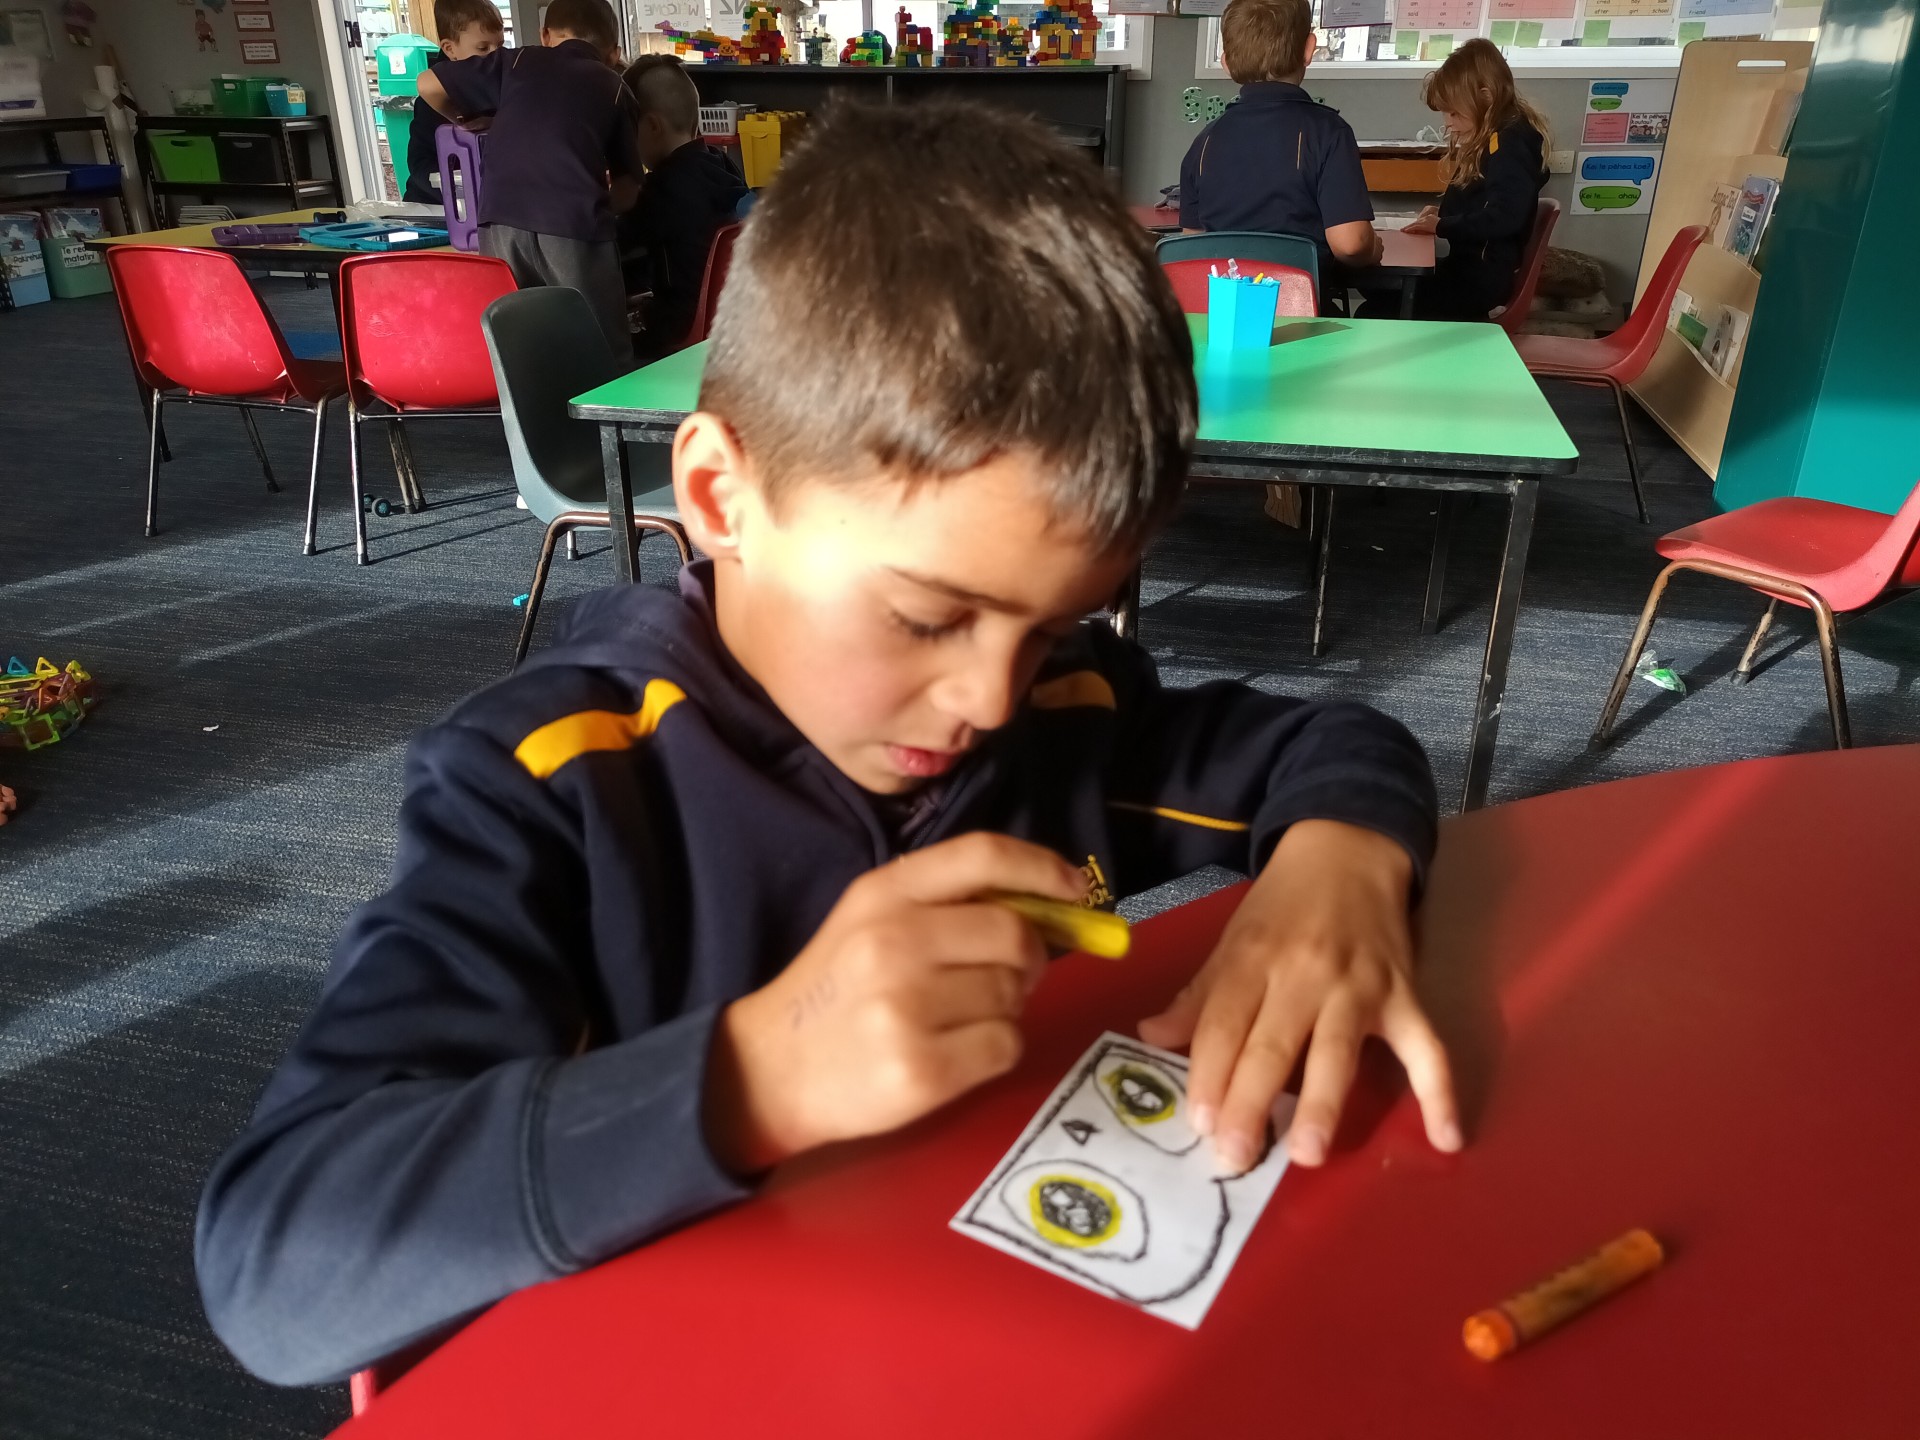
Curved lines, straight lines and shapes of different sizes were used to draw the head and face of the owl. Pastels were the best media for this job because they are nice and bright. Warm colours were used to colour in around the eyes. The rest of the face was filled in using a dark and light shade of the same colour.
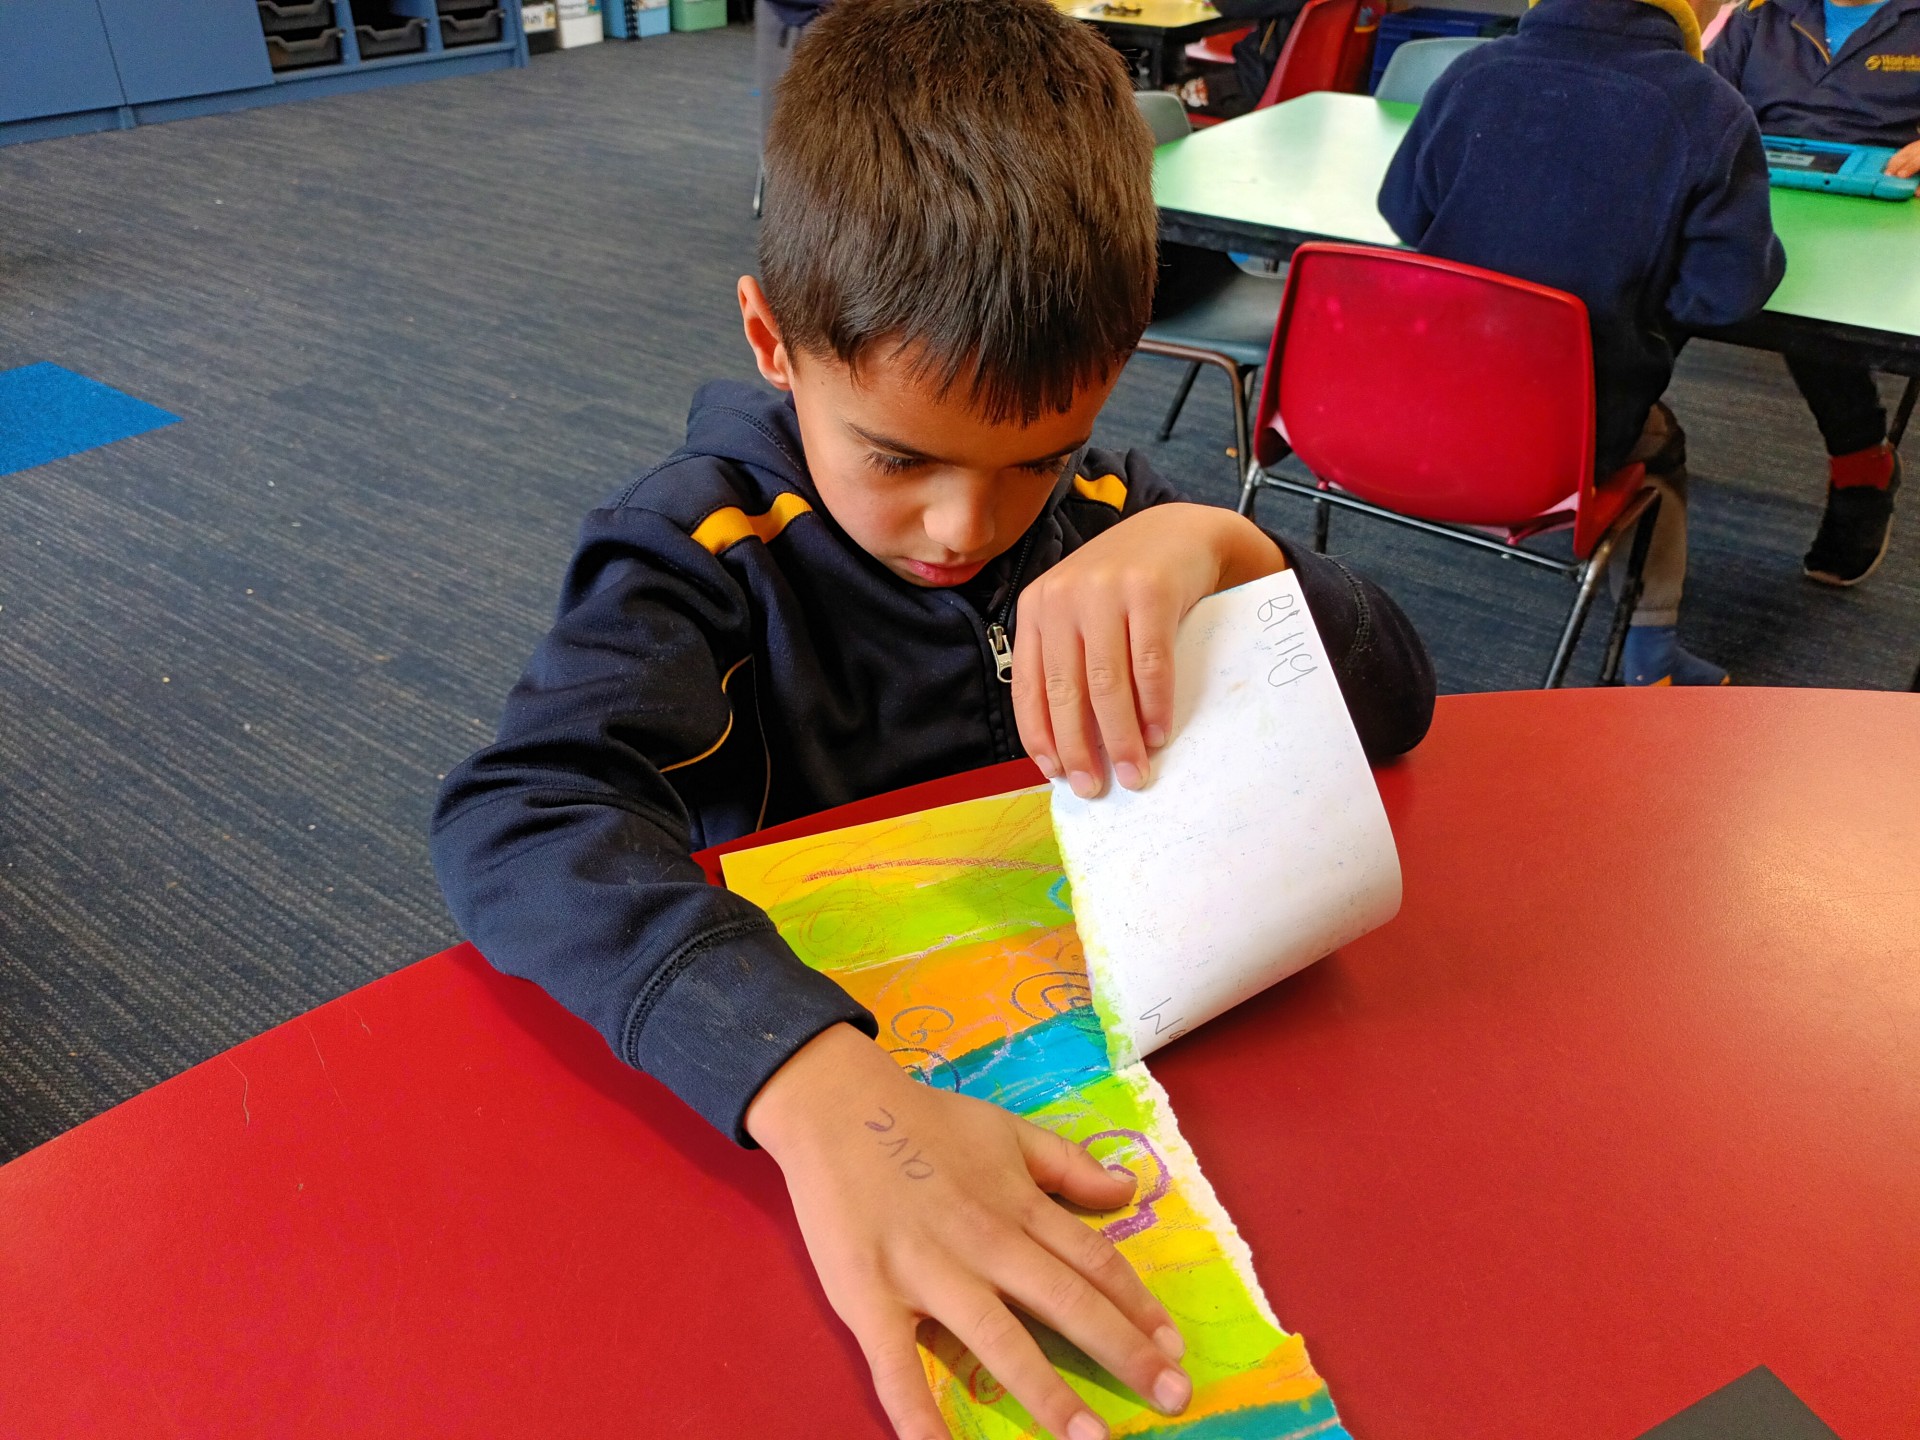
To make the wings the oil pastel and dye piece of paper was ripped in half. Then thin short pieces were ripped from each of the halves.
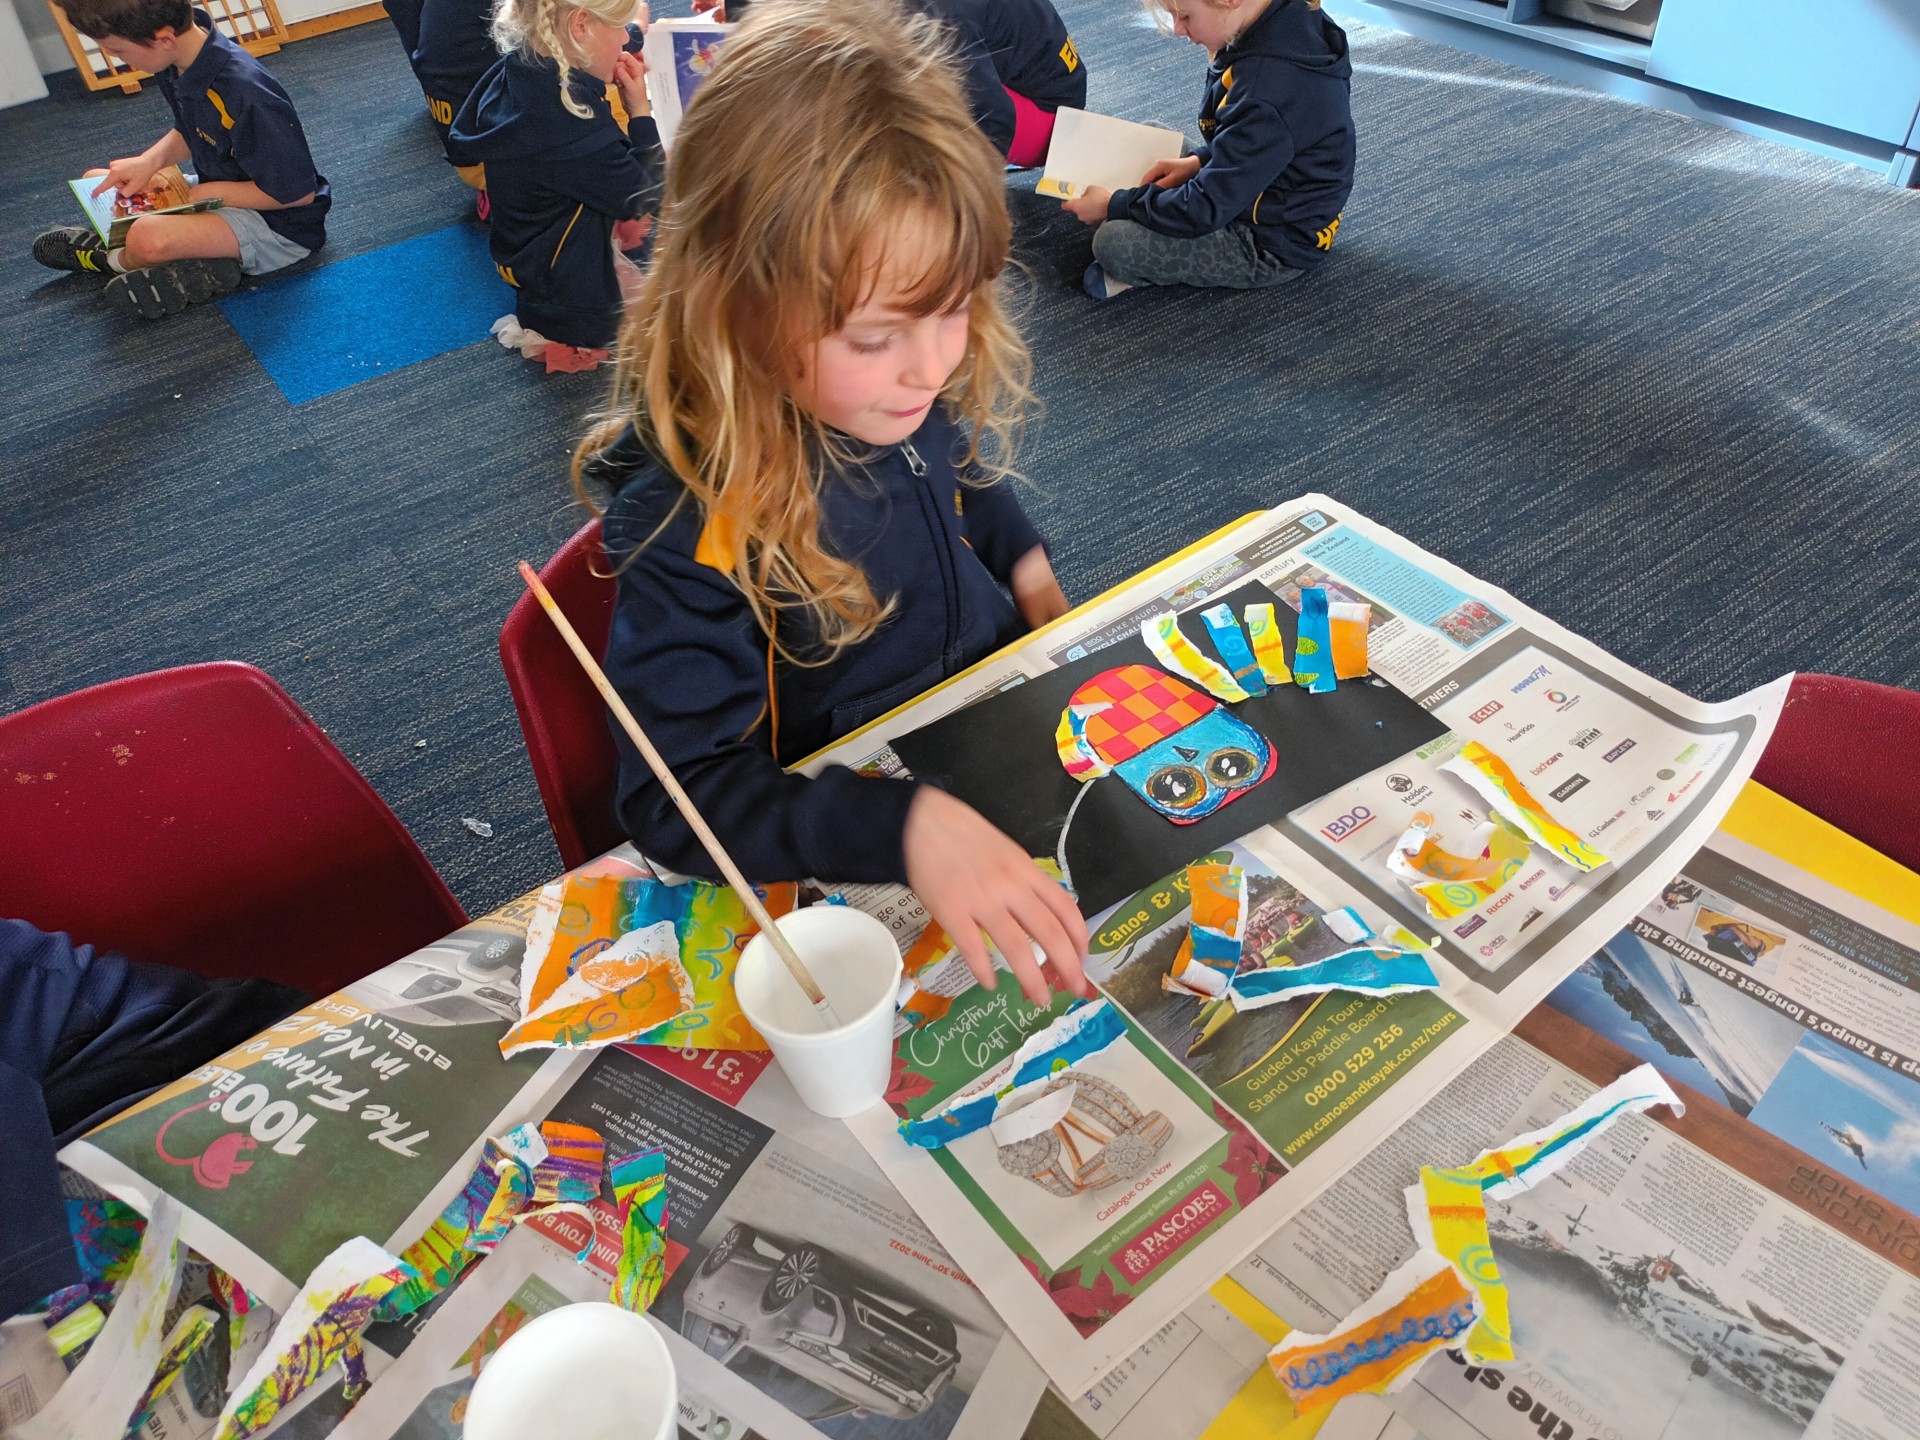
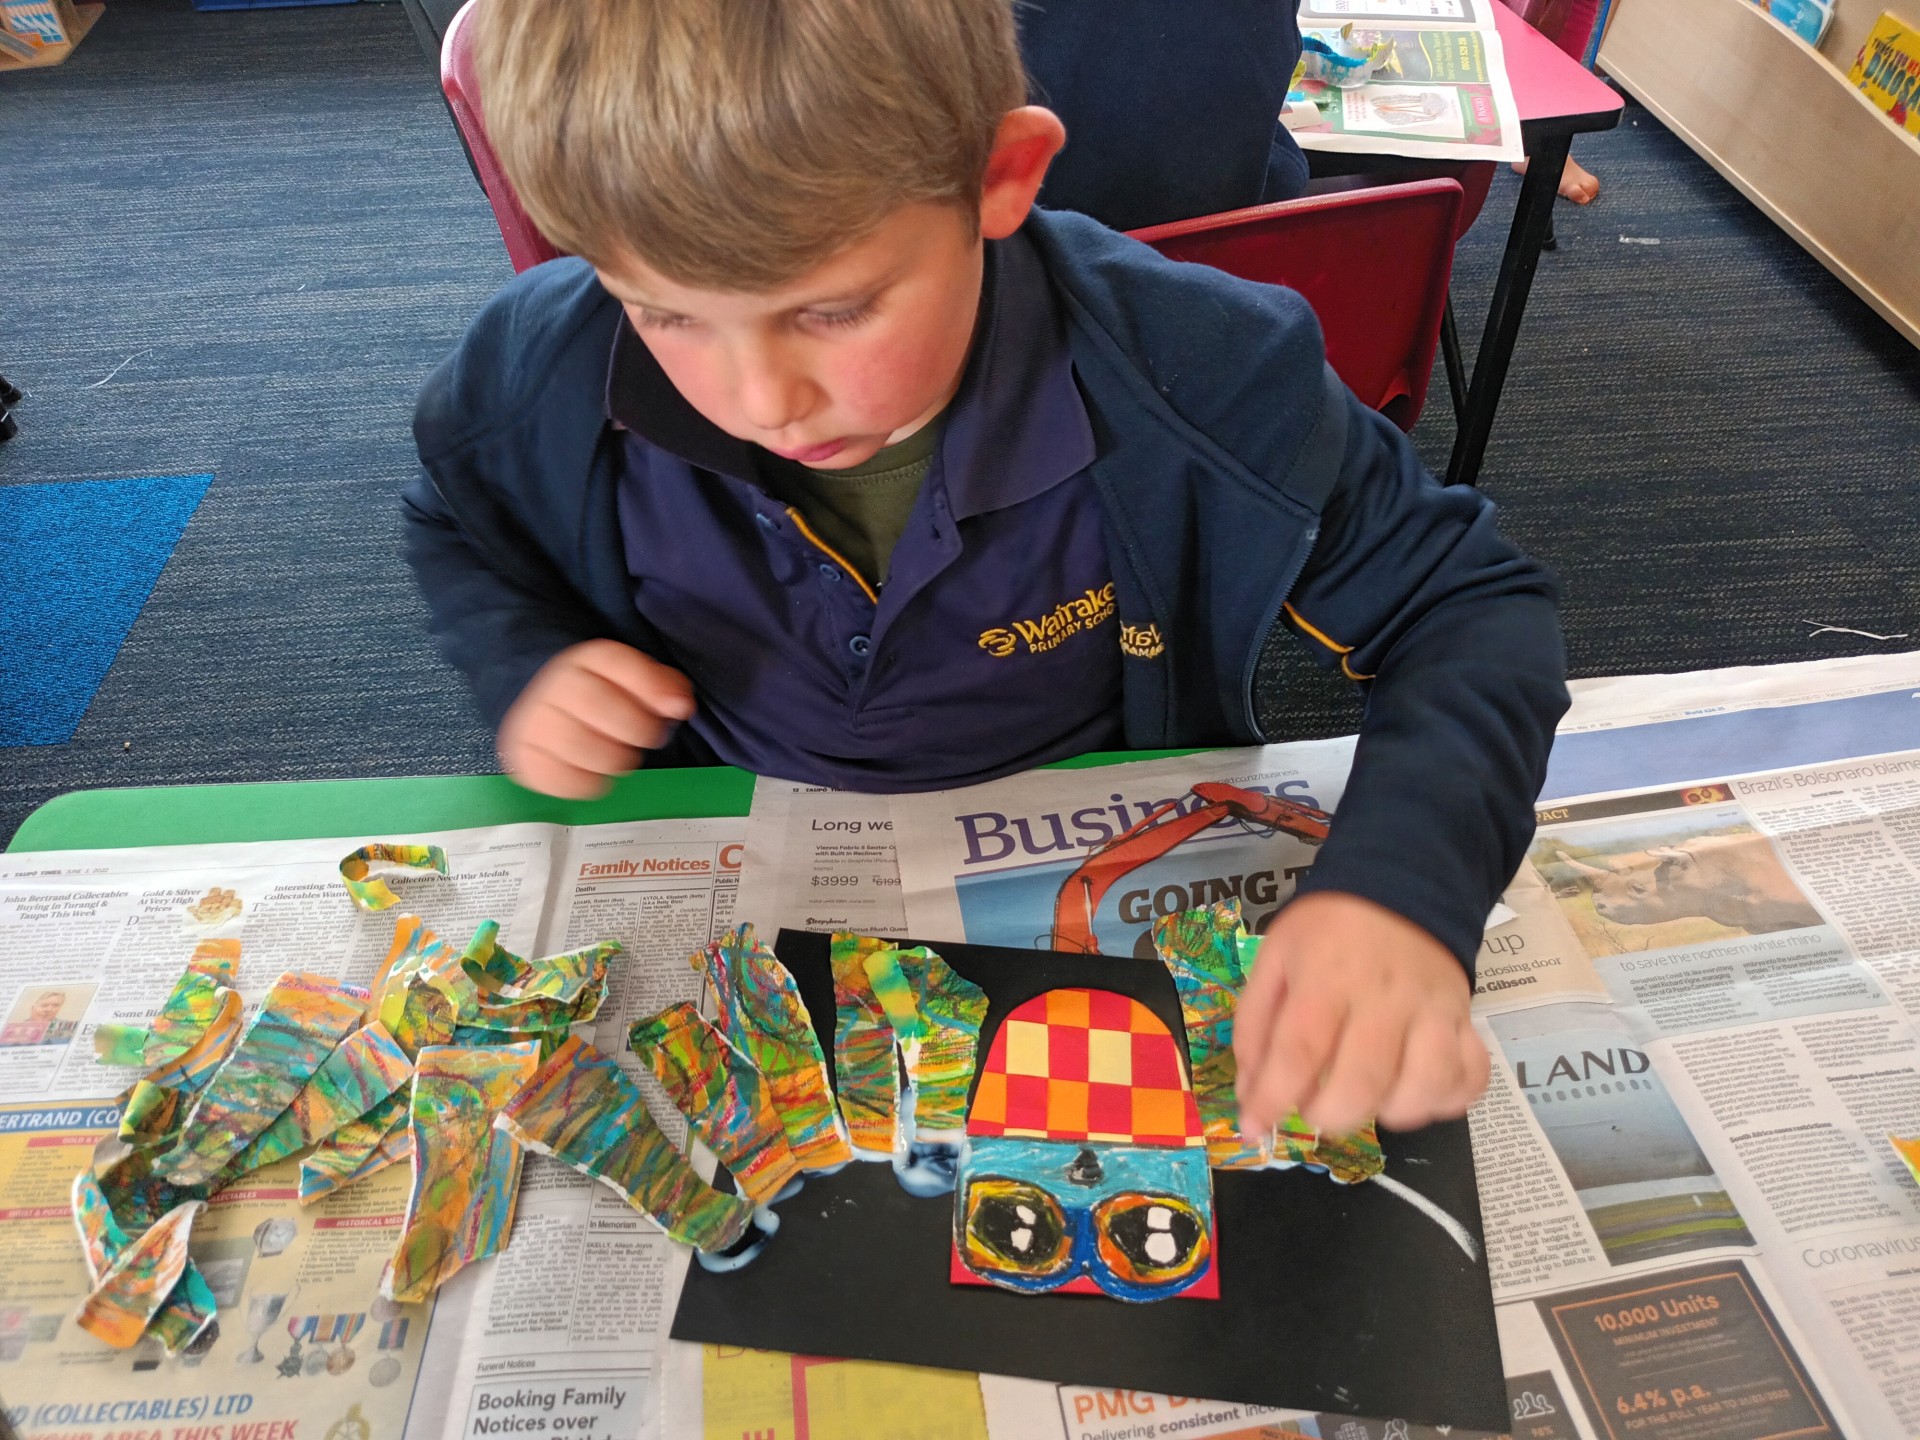
A curved line from the owl’s body was drawn with chalk. The short pieces of paper were glued along this line. Because we wanted the feathers to look ruffled, only the top of the paper had glue on it. After the first row of feathers was glued on another row of feathers was glued over the top. Spare pieces of paper were ripped to make the owl’s head feathers and claws.
Room 13 learned about colour, lines, shapes and texture creating this piece of artwork. They enjoyed exploring a variety of art techniques including oil pastel and dye, drawing, weaving and layering. The owls are more than a pretty picture. They tell a story. They also look stunning on the wall.

Comments are disabled for this post.